How to View Company Leaves
Overview
This guide walks you through how to view all company leave records that are related to you and create new leave requests. Please note that you can only create and view, you cannot edit, or delete leave records.
Prerequisites
- Access to the Organogram workspace platform
Step-by-Step Instructions
Step 1: Access your Company Leave Section
- Log into your Organogram workspace at
people.organogram.app - In the left sidebar, look for the Profile section
- Click on "Leave" from the navigation menu
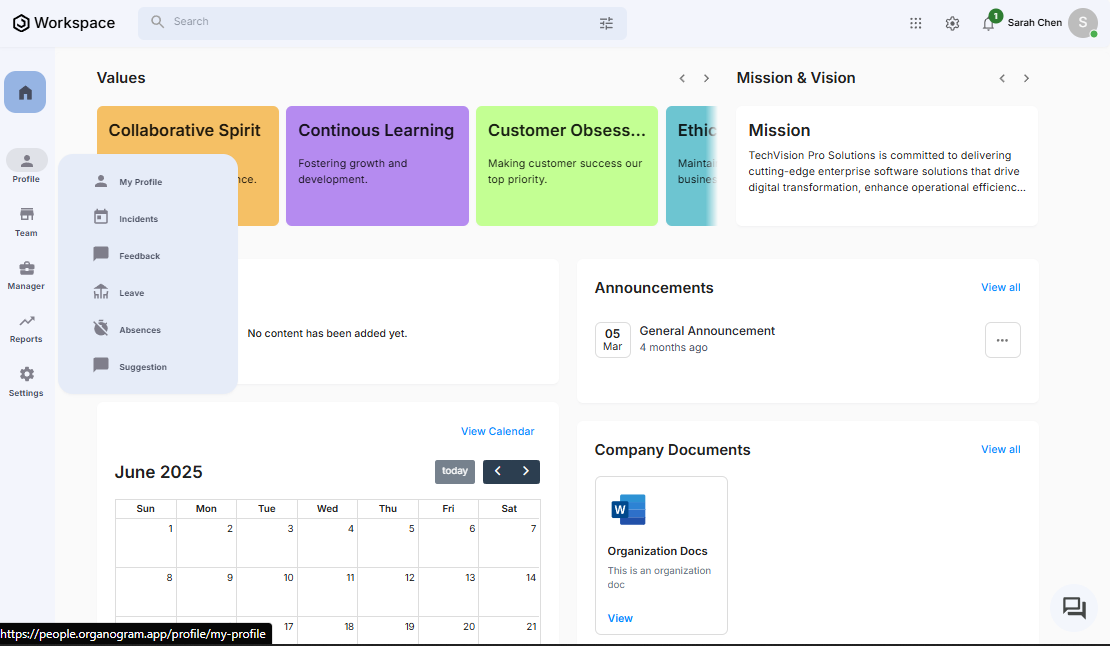
- You'll see your company Leave page
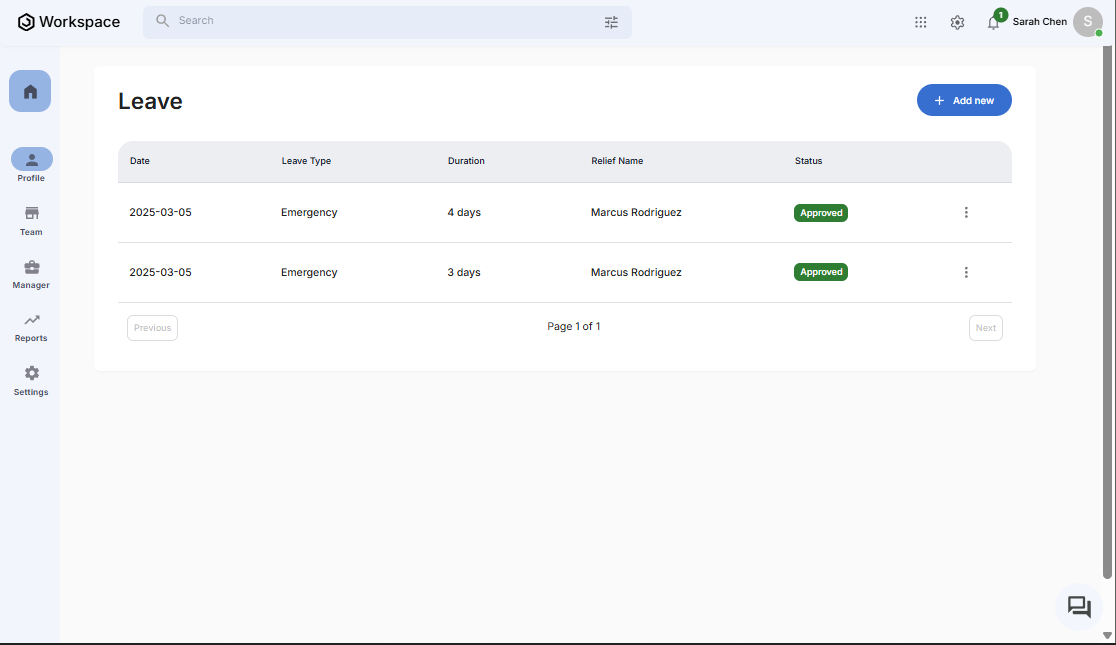
Step 2: View All Related Leave Records
- On the leaves page, you will see a list of all leave records that are related to you.
- Each leave record displays key details, including:
- Date: The date when the leave request was submitted.
- Leave Type: The type of leave, this is one of the categories (leave types) of leaves available in your organization
- Duration: The total number of days requested for the leave
- Relief Name: The colleague assigned to handle your responsibilities while you are away
- Status: The current state of the leave request (e.g., Pending, Approved, Declined)
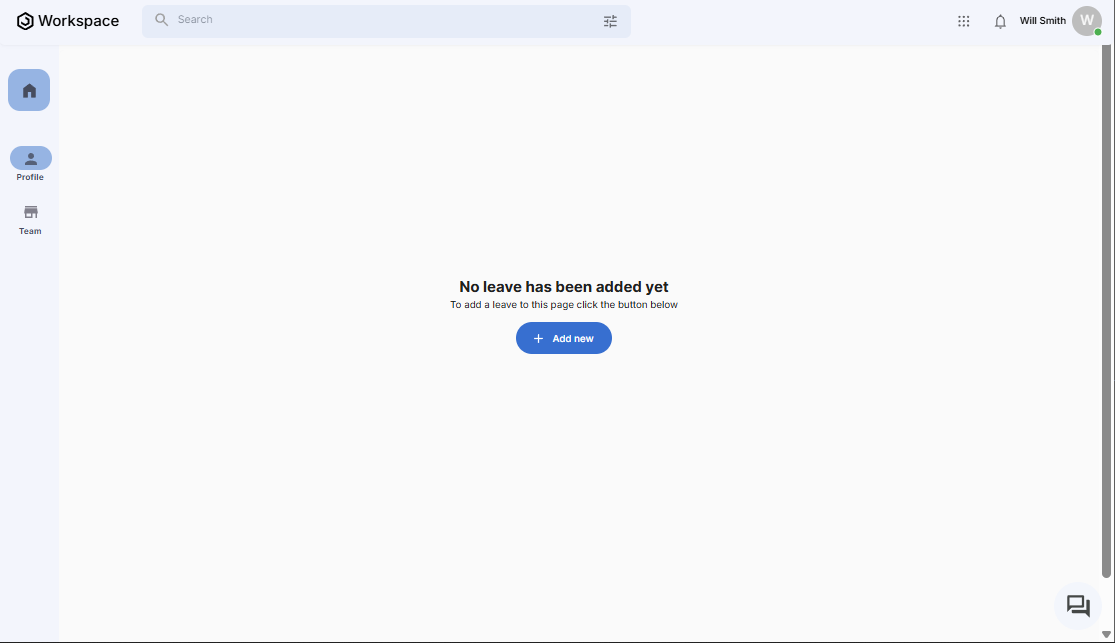
- If you do not have any existing leave record, you will see the no leave view
Step 3: Create a New Leave Request
- On the Leave page, you'll see the current leave request list
- In the top-right corner, locate the blue "+ Add new" button
- Click on "+ Add new" to open the leave request form
Step 4: Fill in your Leave Request Data
The "Request Time Off" fullscreen dialog will appear with the following fields:
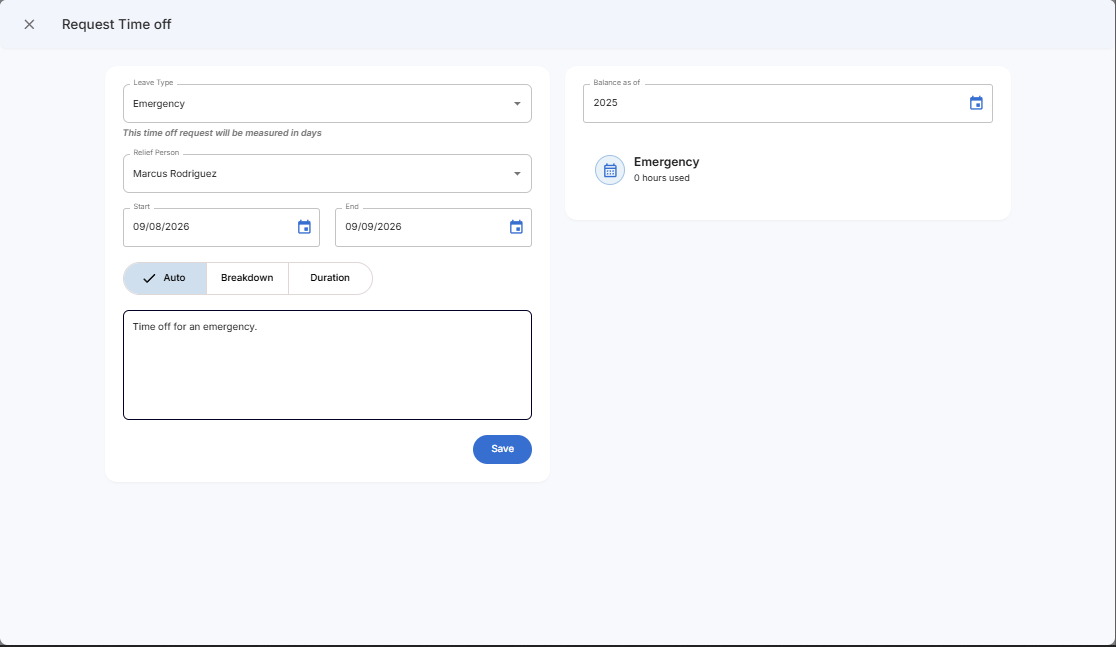
Required Information:
- Leave Type: The type of leave, this is one of the categories (leave types) of leaves available in your organization
- Relief Person: The colleague to be assigned to handle your responsibilities while you are away
- Start Date: The first day your leave is scheduled to begin
- End Date: The day your leave is scheduled to end
- Duration Options: You can define the leave duration in one of the following ways:
- Auto: The system automatically calculates the duration based on your start and end dates.
- Breakdown: Manually adjust the leave in hours or fractions of a day (between 0 and 1, in increments of 0.25).
- Duration: Manually enter the total number of days for your leave
- Remark: Any additional notes or comment about the leave
Other Information:
- Balance: Displays the total amount of leave you have already taken, shown in hours, for each available leave type.
Step 5: Save the Leave Request
- Once all fields are completed, click the blue "Save" button at the bottom of the dialog
- The system will process the information and create the leave request
- The dialog will close automatically upon successful creation
Step 6: Verify Leave Request Creation
- You'll be returned to the main leave page
- The new leave request should now appear at the top of the leave record list
Step 7: Open a Leave for Details
- Locate the leave record you want to review and click the three-dot menu (⋮) on the right side of the row.
- Select "View" from the dropdown menu
- Here you can view the comprehensive details of the selected leave, such as:
- Start date
- End date
- Remark
- Balance
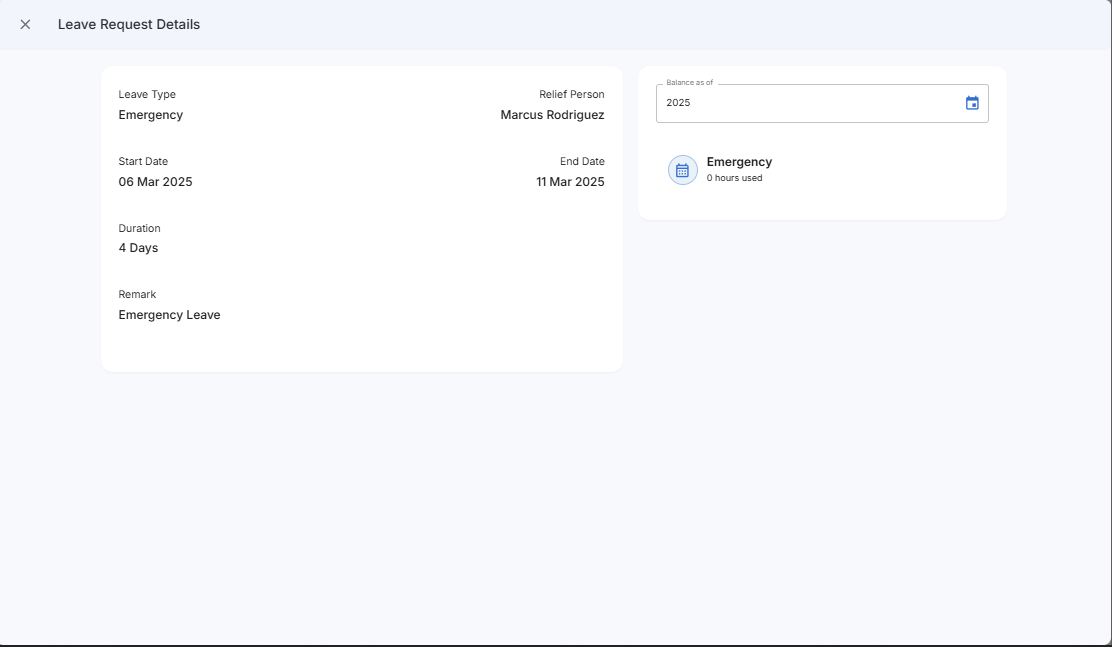
Step 8: Return to the Leave List
- Click the X button at the top left corner (right next to the Leave Request Details text)
Important Notes
- You cannot edit or delete leave request in this section. The feature is strictly for viewing and creating company leave requests
- If you believe any leave request information is incorrect, please contact your manager or someone with an higher level authority in your organization