How to Assign a Role to a User
Overview
This guide walks you through the process of assigning a role to a user in the Organogram Workspace Admin platform across multiple applications (Admin Console, Payroll Application, and People Application). You'll learn how to access the role management section and assign roles using two methods: the role search interface or the "Add User to Role" dialog.
Prerequisites
- Access to the Organogram Workspace Admin platform
- Knowledge of the user, application, and role to be assigned
- User must already exist in the system
When You Need This
- Granting users specific permissions in the Admin Console, Payroll Application, or People Application
- Assigning roles to new or existing users for application access
- Updating user responsibilities to align with organizational needs
- Ensuring compliance with role-based access control policies
- Managing user permissions for reporting, editing, or administrative tasks
Step-by-Step Instructions
Assigning a role using the search interface
Step 1: Access the User Authorization Section
- Log into your Organogram Workspace Admin platform at
admin.organogram.app
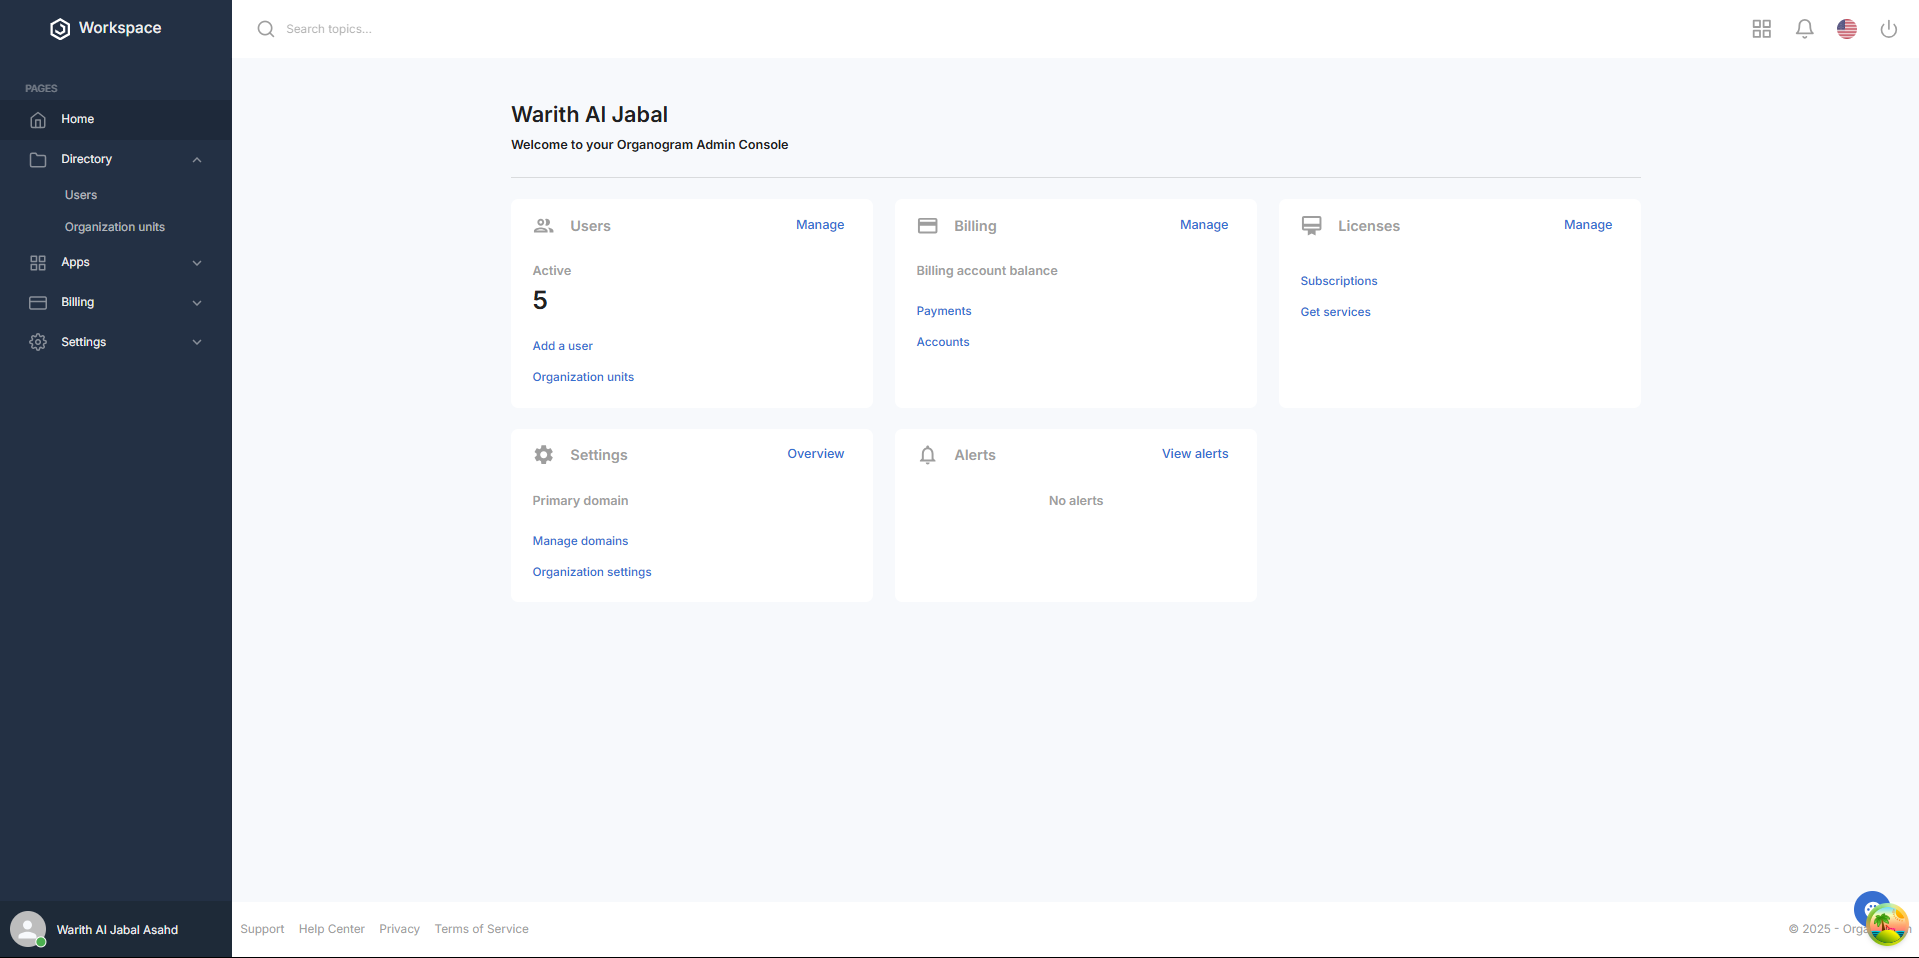
- In the left sidebar, click Settings > Authorization > Users to navigate to the user authorization page.
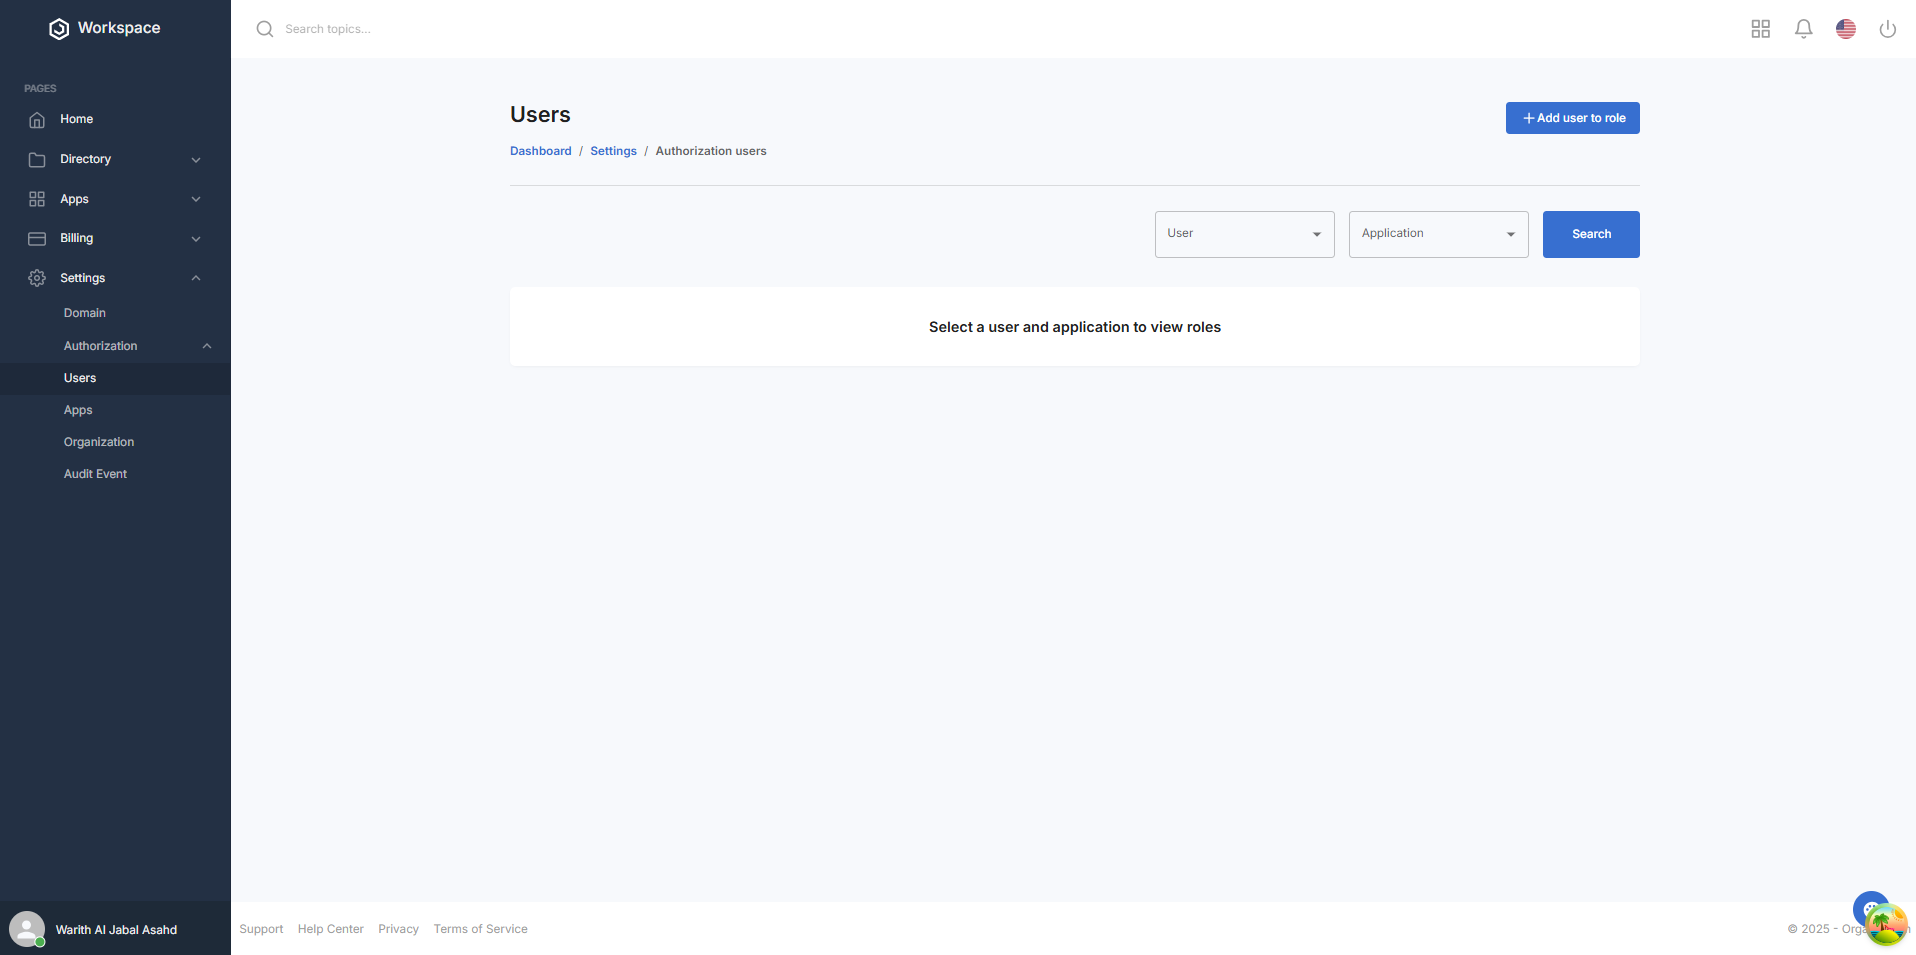
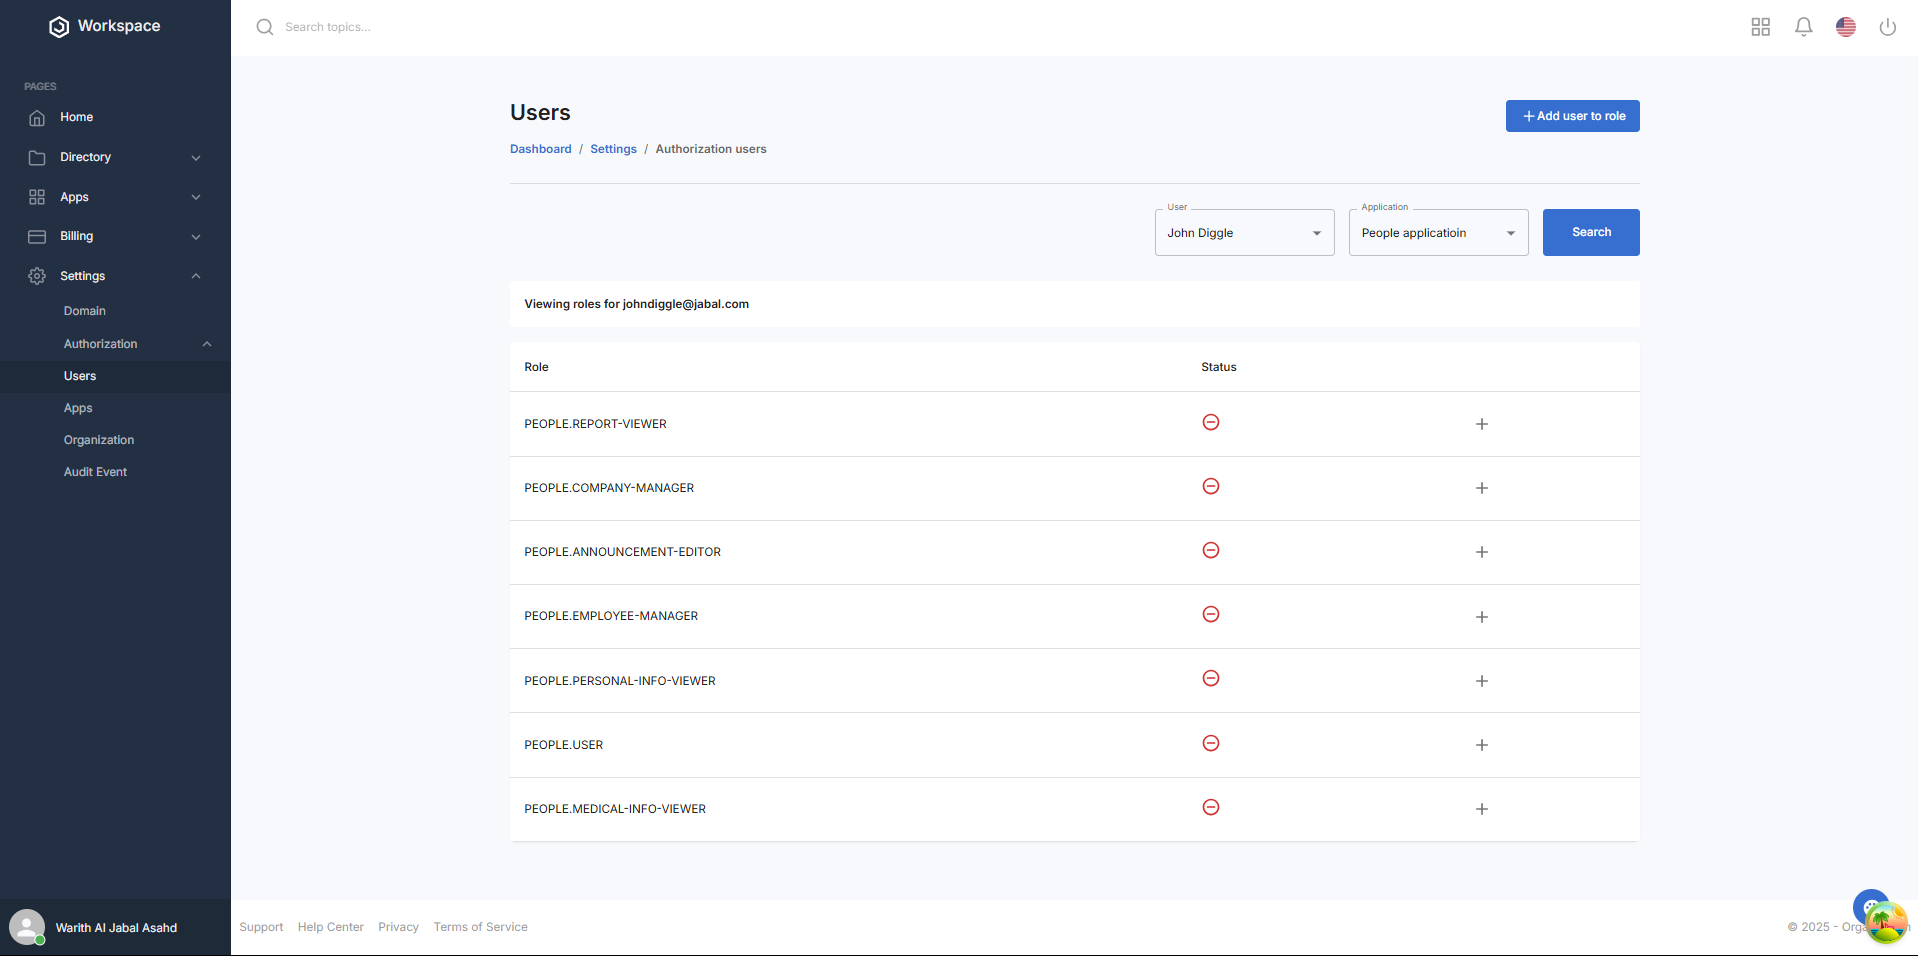
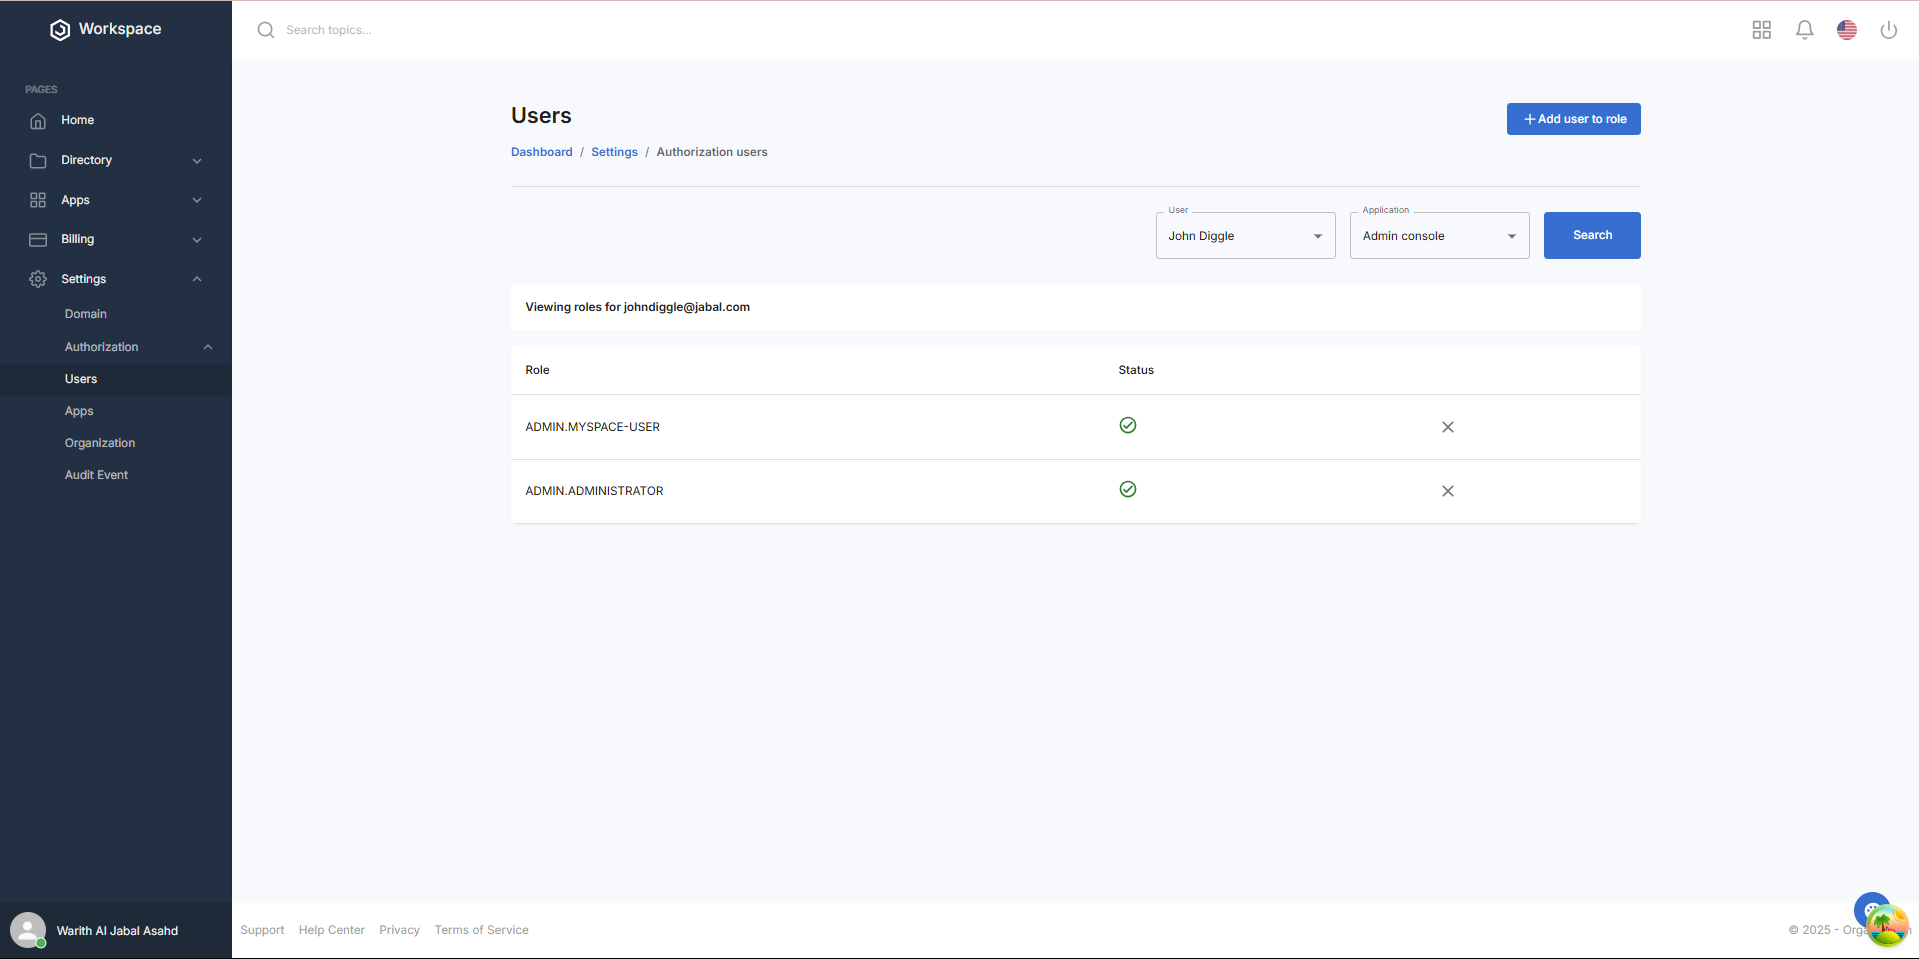
Step 2: Assign a Role to a User (Search Interface)
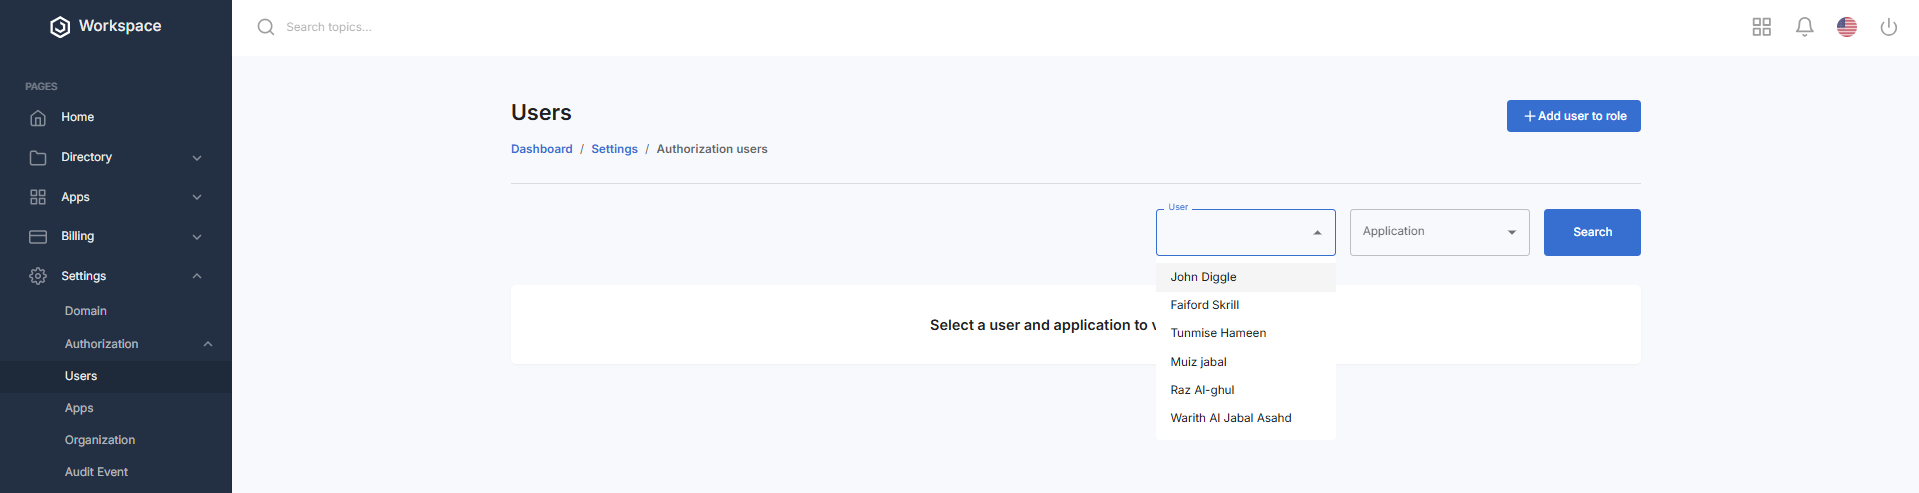
- On the Roles page, locate the User dropdown at the top of the page
- Select the user you want to assign a role to from the dropdown
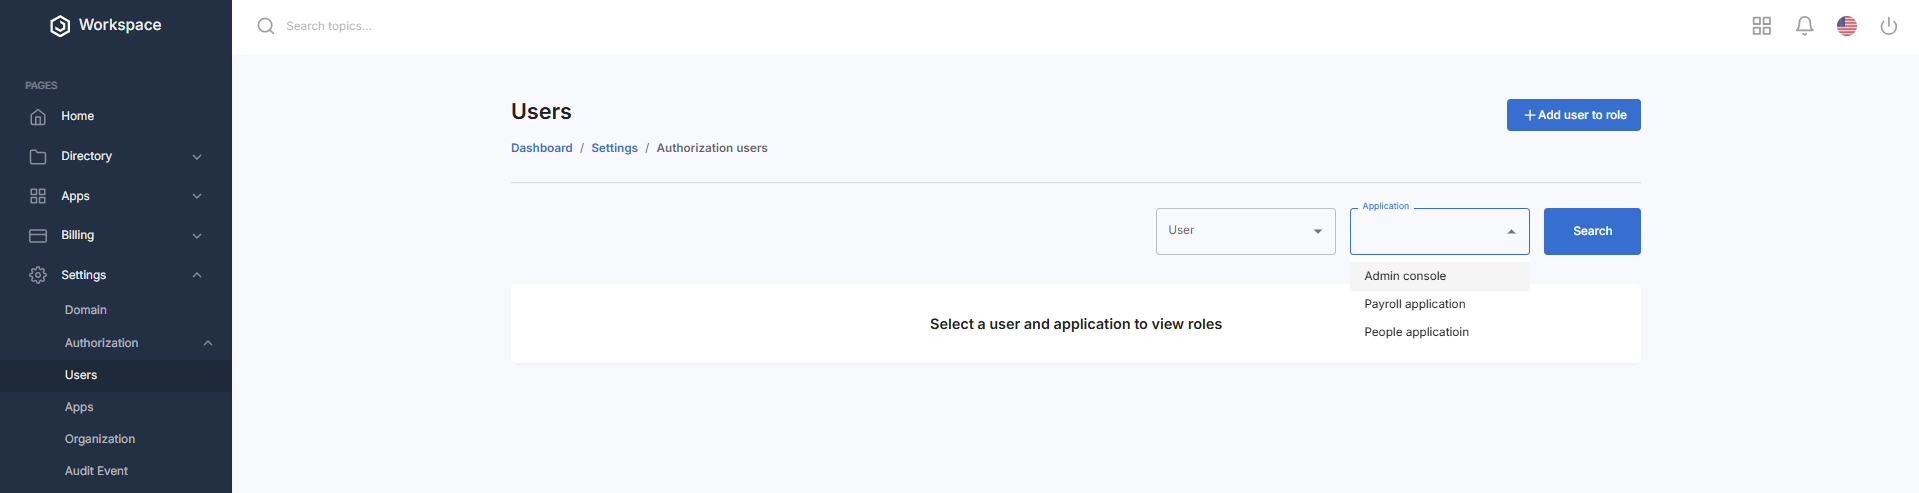
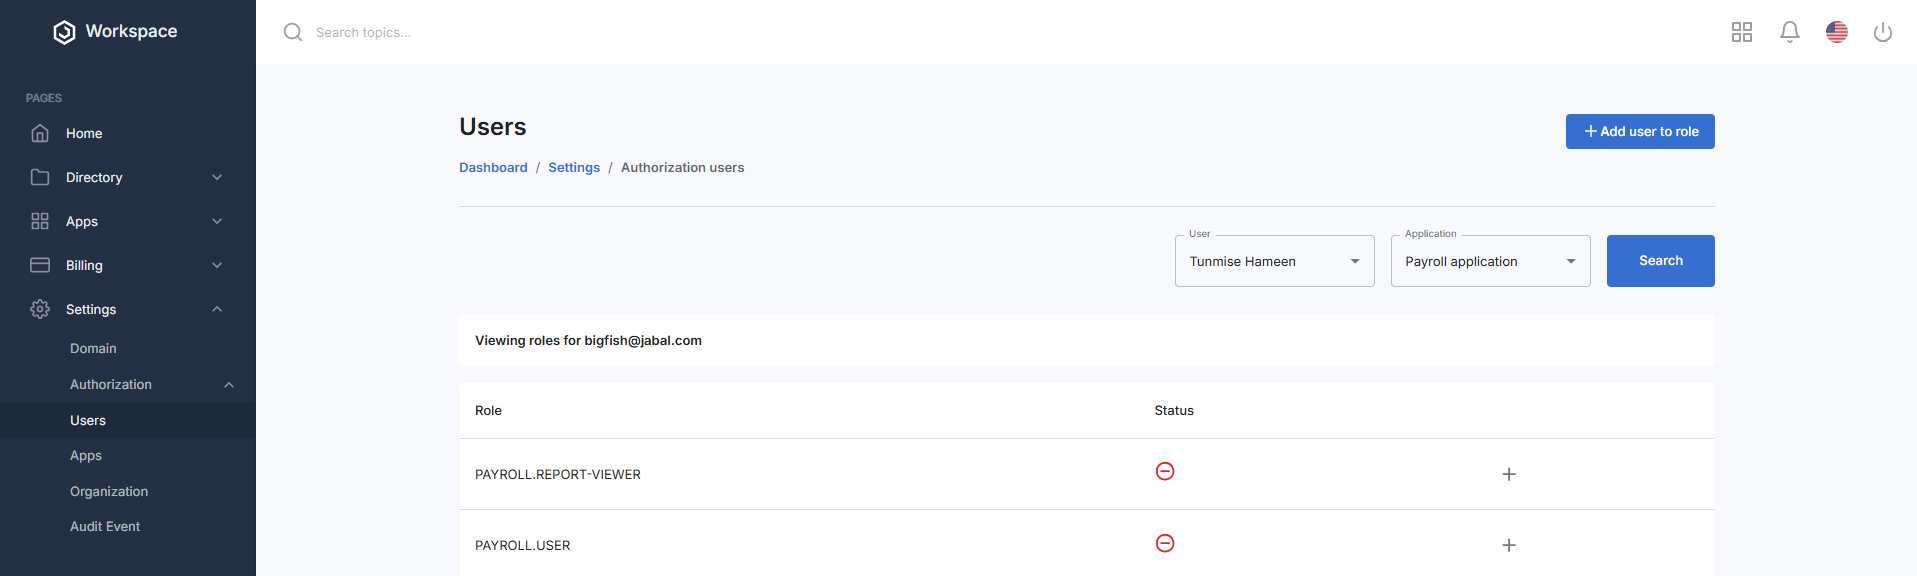
- In the Application dropdown nearby, select one of the following applications:
- Admin Console (roles: ADMIN MY-SPACE-USER, ADMIN ADMINSTRATOR)
- Payroll Application (roles: PAYROLL REPORT VIEWER, PAYROLL USER, PAYROLL MANAGER, PAYROLL APPROVER)
- People Application (roles: PEOPLE REPORT VIEWER, PEOPLE COMPANY MANAGER, PEOPLE ANNOUNCEMENT EDITOR, PEOPLE EMPLOYEE MANAGER, PEOPLE PERSONAL-INFO-VIEWER, PEOPLE USER, PEOPLE MEDICAL INFO VIEWER)
- Click the blue Search button to display the roles for the selected user and application
- A table will appear below with a Role column, a Status column (showing a circled red hyphen if the role is not assigned and a circled green hyphen if the role is assigned), and a Plus button column to assign a role to a user. The text above the table will read: "Viewing roles for [selected user]"
- In the Plus button column, click the + button on the same row as the role you want to assign
- A confirmation dialog will appear to confirm the role assignment

- Click Yes in the dialog to assign the role
- A notification will pop up saying "User assigned successfully"
- The Status column for the assigned role will update to a circled green hyphen
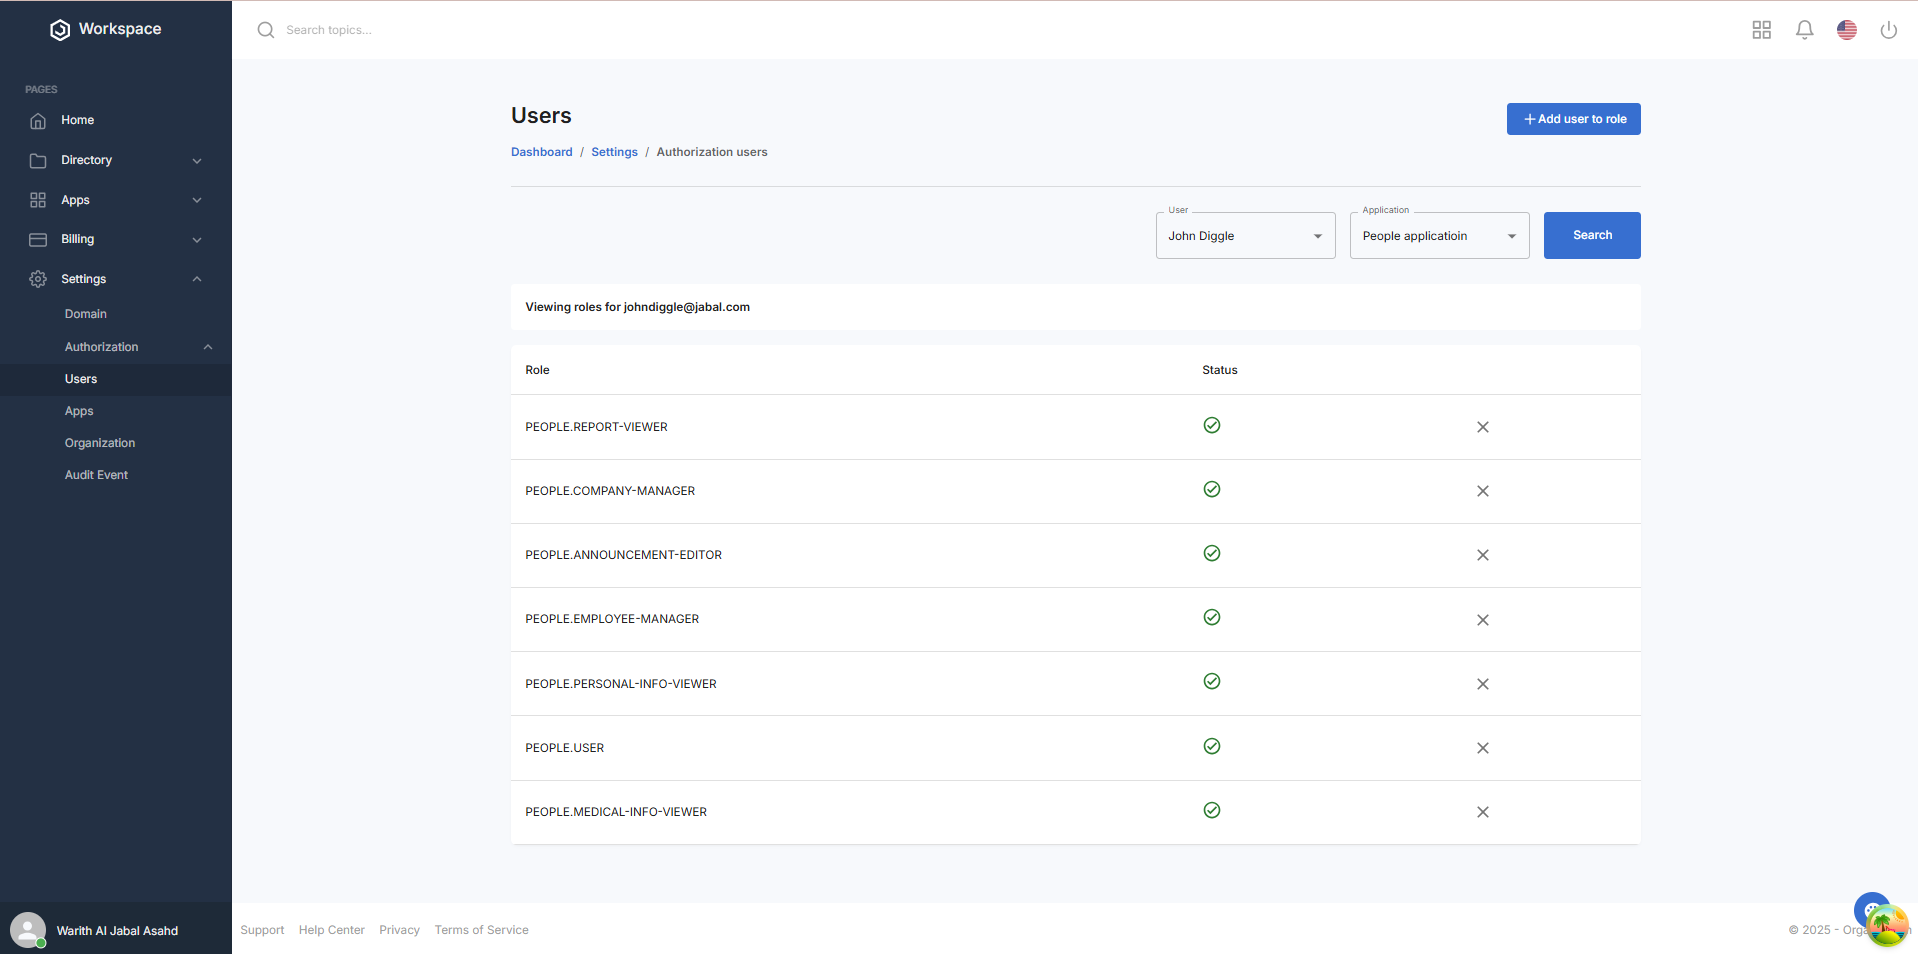
Step 3: Remove a User from a Role (Search Interface)
- In the X button column, click the X button on the same row as the role you want to remove from the user
- A confirmation dialog will appear asking if you want to remove the user from the role
- Click "Yes" in the dialog to remove the user
- A notification will pop up saying "User Removed Successfully"
- The Status column for the role will update to a circled red hyphen, indicating the role is no longer assigned to that user
Assigning a Role using the Add User to Role Dialog
Step 1: Assign a Role to a User
- After accessing the user authorization section, locate the + Add user to role button in the top-right corner

- Click on "+ Add User to Role" to open the "Add User to Roles" dialog
- In the dialog, fill in the following fields:
- Client: Select an application from the dropdown (Admin Console, Payroll Application, People Application). After selecting a client, the role dropdown box appears
- Role: Select a role from the dropdown based on the chosen application. NOTE: Multiple roles can be selected
- User: Select the user to assign the role to from the dropdown
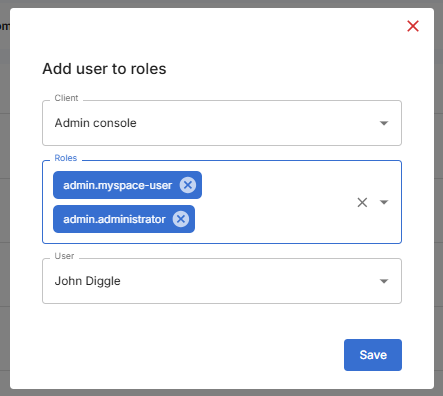
- Click the "Save" button at the bottom of the dialog
- A notification will pop up saying "User Assigned Successfully"
- The dialog will close automatically upon successful assignment
Step 2: Verify Role Assignment
- Return to the Roles page
- Use the User and Application dropdowns to search for the user and application again
- Verify the assigned role appears in the table with a circled green hyphen in the Status column
What You'll See After Assigning
- The user’s role will be updated in the selected application
- The roles table will show a circled green hyphen for assigned roles
- Add button remains available for assigning additional roles
Next Steps
After assigning a role to a user, you may want to:
- Verify the user’s access to the selected application
- Notify the user of their new role and permissions
- Review role assignments for accuracy and compliance