How to Upload or Update a User's Photo
Overview
This guide explains how to upload a new profile photo for a user or update an existing one in the Organogram Workspace Admin platform. You’ll learn how to access the photo upload dialog, preview selected images, remove existing ones, and save changes.
Prerequisites
- Access to the Organogram Workspace Admin platform
- The user must already exist in the system
When You Need This
- Uploading a profile picture for a new user
- Updating or replacing an outdated user photo
- Removing a user’s existing photo
Step-by-Step Instructions
Step 1: Access the User Profile
- Log into your Organogram Workspace Admin platform at
admin.organogram.app - Navigate to the Users page via the Directory section in the left sidebar
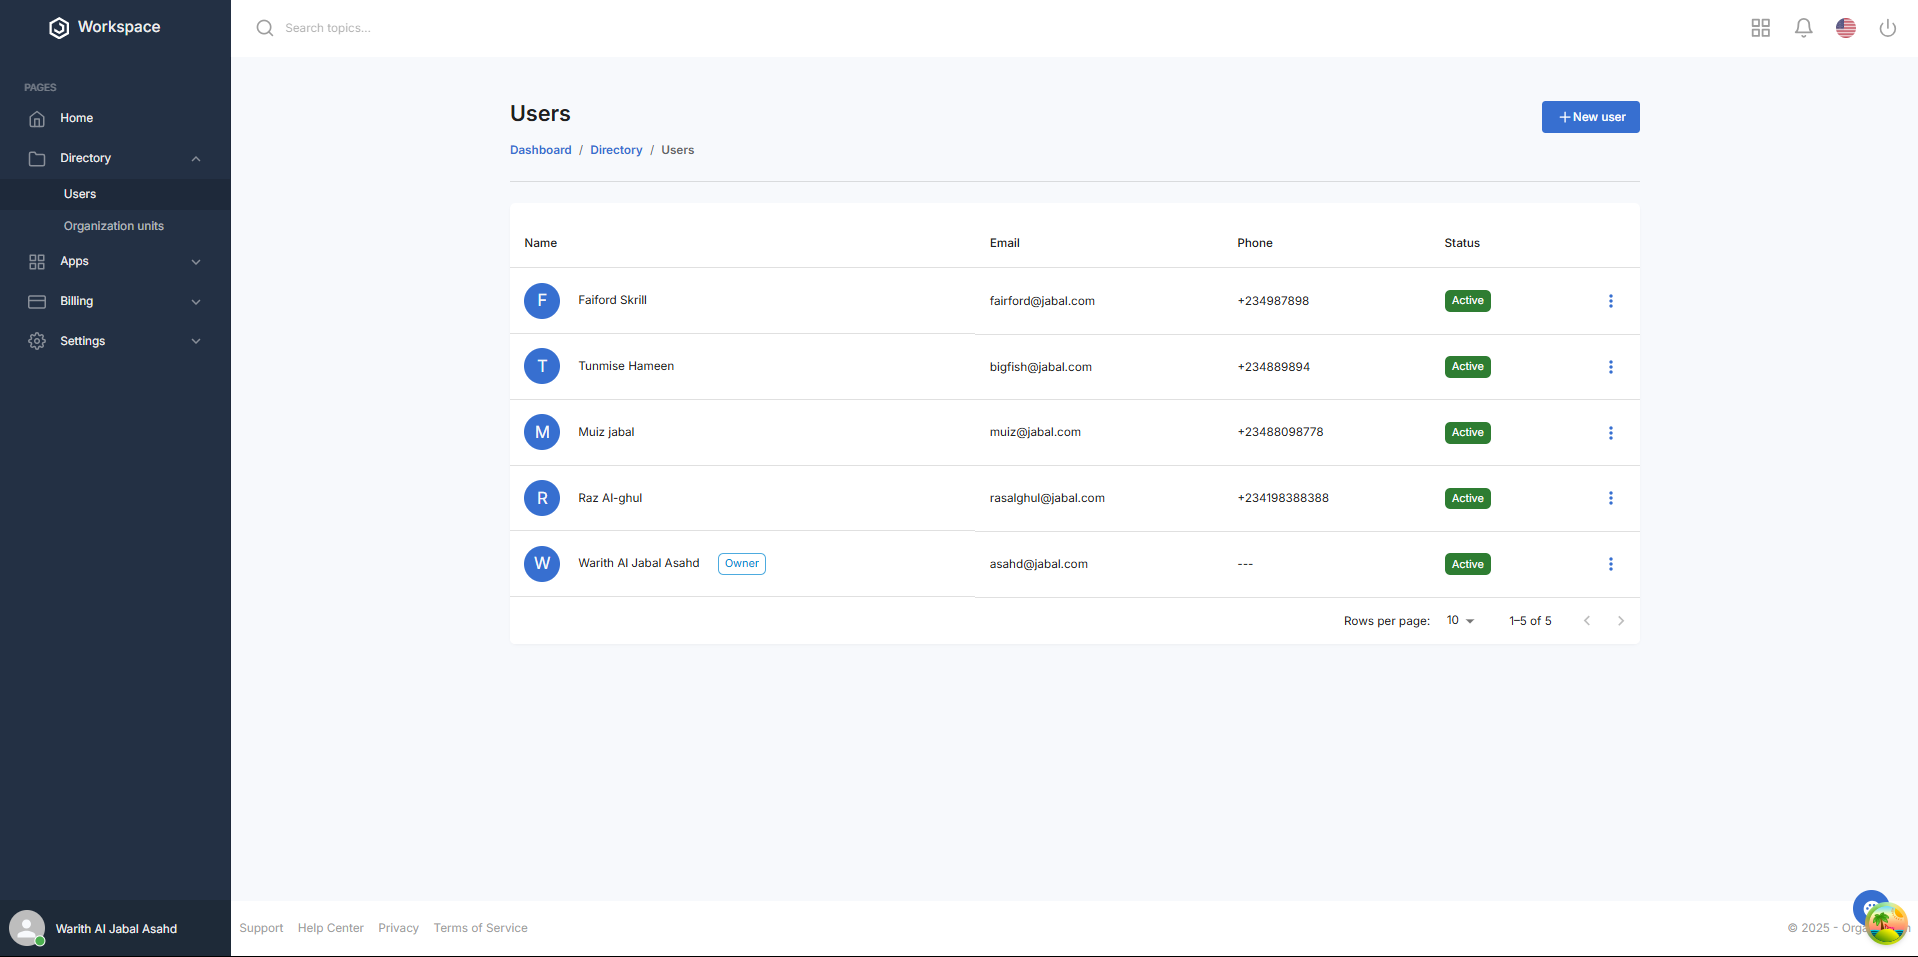
- Locate the user whose photo you want to manage
- Click the three-dot menu next to their name
- Select “View Profile” from the dropdown

Step 2: Open the Upload Photo Dialog
- On the User Profile page, locate the user’s avatar (photo placeholder or current image)
- On the avatar, click the pencil icon to open the upload dialog
![]()
Step 3: Upload a New Photo (For Users Without an Existing Photo)
- In the upload dialog, click the upload icon to select an image from your local storage
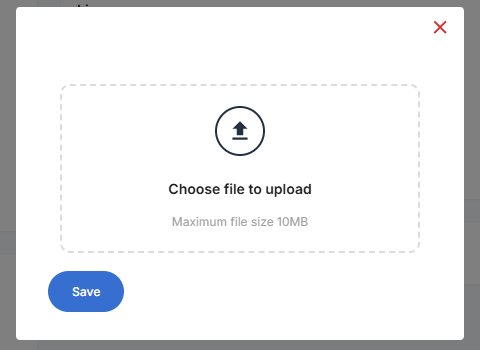
- After selecting a file, a preview of the image will appear within the dialog
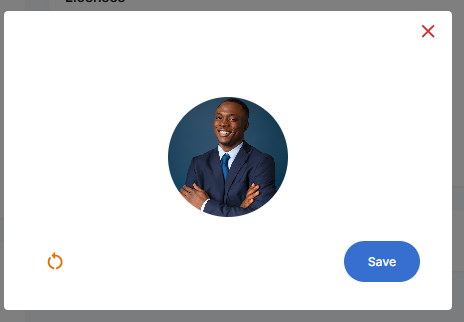
- To remove the selected image before saving, click the red circular arrow icon
- If satisfied with the image preview, click the Save button to upload and save the photo
- Upon success, a notification appears:
“Photo updated successfully”
The new photo now appears as the user’s avatar.
Step 4: Update or Remove an Existing Photo
- If the user already has a photo, clicking the pencil icon again will open the dialog with the current image already visible as a preview
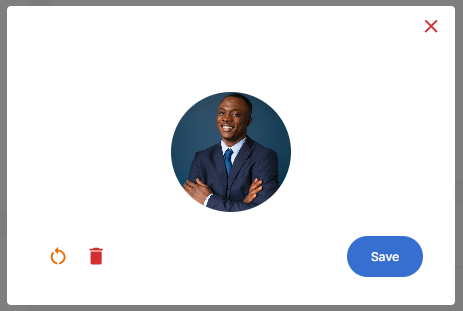
- To delete the current photo completely, click the red bin icon in the dialog
- A confirmation message appears:
“Photo removed successfully”
- The dialog closes, and the avatar returns to its default placeholder
- A confirmation message appears:
![]()
- To replace the current image with a new one:
- Click the red circular arrow icon to clear the current preview
- The upload icon will reappear
- Click the upload icon and select a new image from your local storage
- Once a new image is selected and previewed, click Save to confirm the update
- A notification appears:
“Photo updated successfully”
- A notification appears:
What You'll See After Upload
- The user’s avatar updates to show the new photo
- The image remains persistent across sessions
- Users without a photo will show a default placeholder until one is uploaded
Next Steps
After uploading or updating a user photo, you may want to:
- Assign licenses or roles to the user
- Notify the user that their profile has been updated
- Continue editing other parts of the user’s profile