How to Manage Employee Addresses
Overview
This guide explains how to add and edit employee addresses within the Payroll Workspace. You’ll learn how to use the Employee Profile page to manage residential and permanent addresses, as well as update or remove them when necessary.
Prerequisites
- Access to the Payroll workspace platform
- Admin or authorized permissions to manage employee records
- Employee must already exist in the system
When You Need This
- Recording an employee’s residential or permanent address
- Updating an address after relocation
- Correcting errors in existing address details
- Removing outdated or duplicate address records
Step-by-Step Instructions
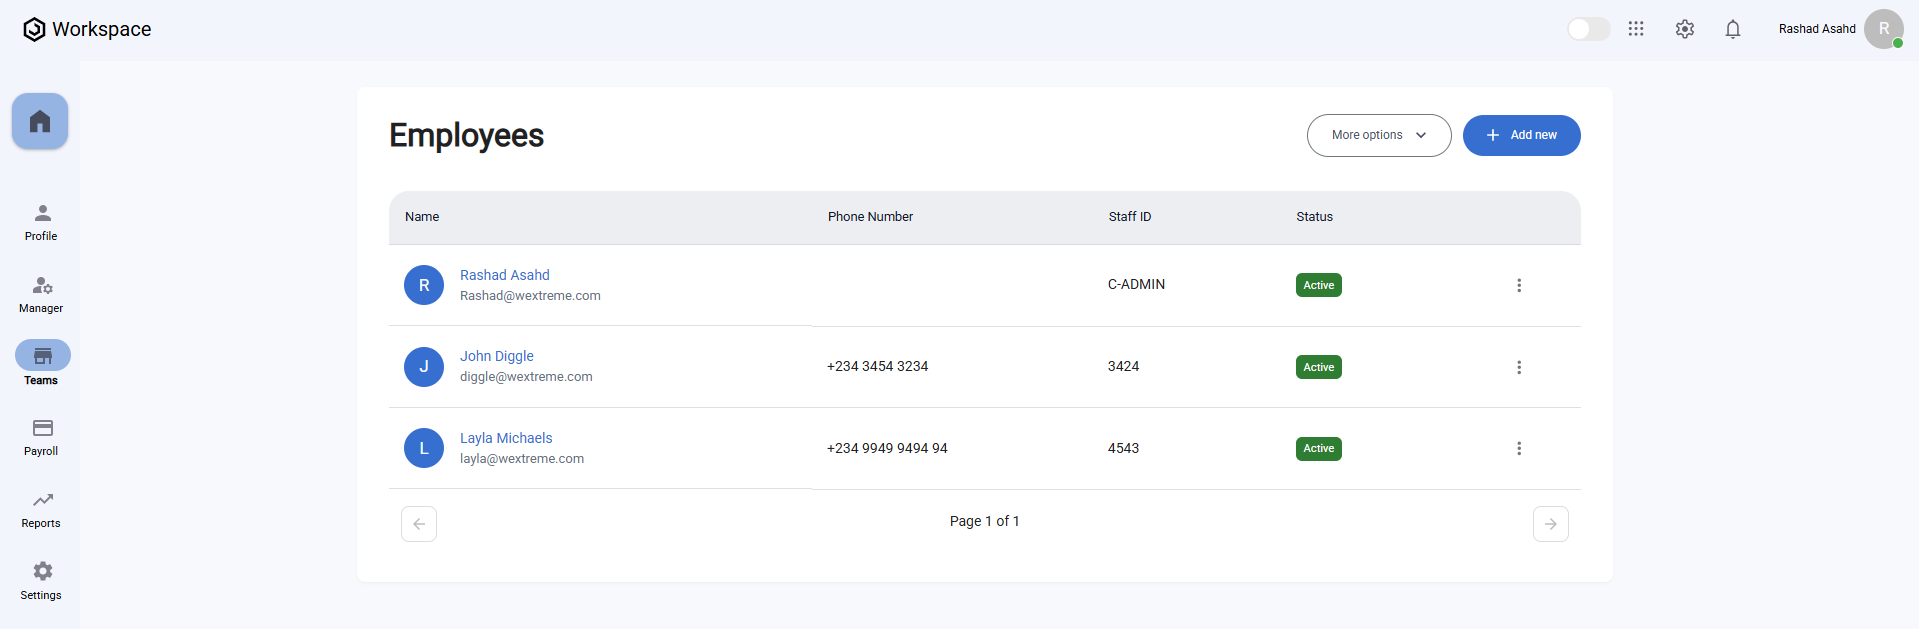
Step 1: Access the Employee List
- Log into your Organogram Payroll workspace at
payroll.organogram.app. - From the left-hand sidebar, click "Teams".
- Under Teams, select "Employees".
- You’ll be taken to the Employee List page.
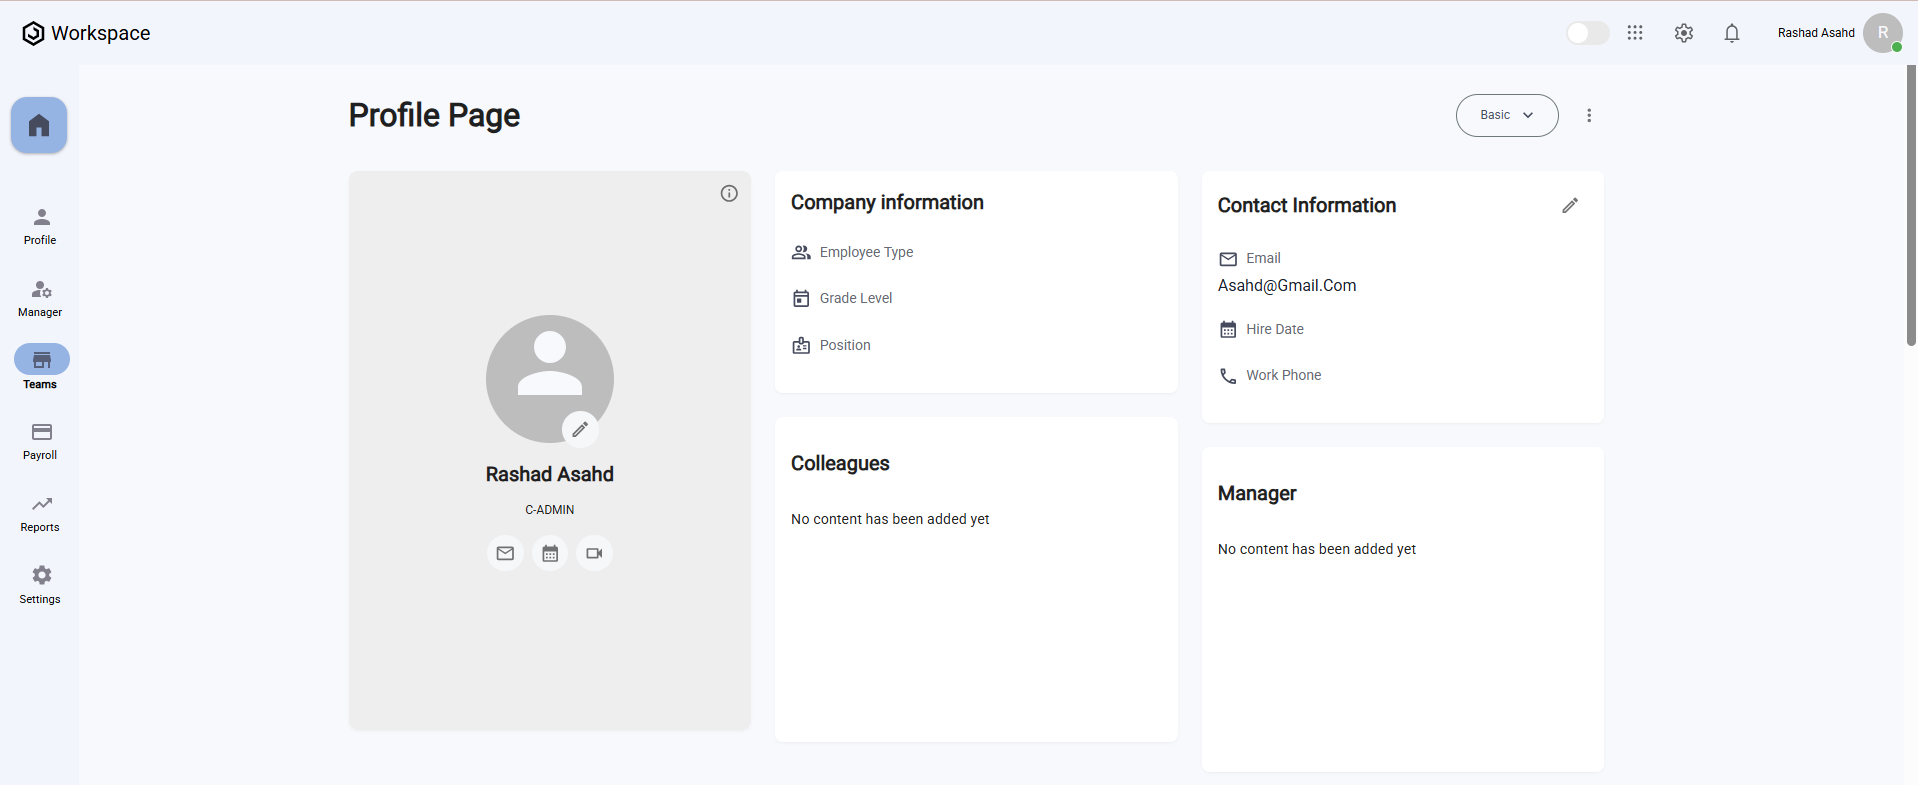
Step 2: Open Employee Profile
- Locate the employee whose address you want to manage.
- Either:
- Click on the employee’s avatar, or
- Click the three-dot menu icon (⋮) on the row and select "View Profile".
- The Employee Profile page will open.
Step 3: Navigate to the Address Section
- Scroll down the Employee Profile page.
- Locate the Address Card section.
- This card displays all addresses for the employee.
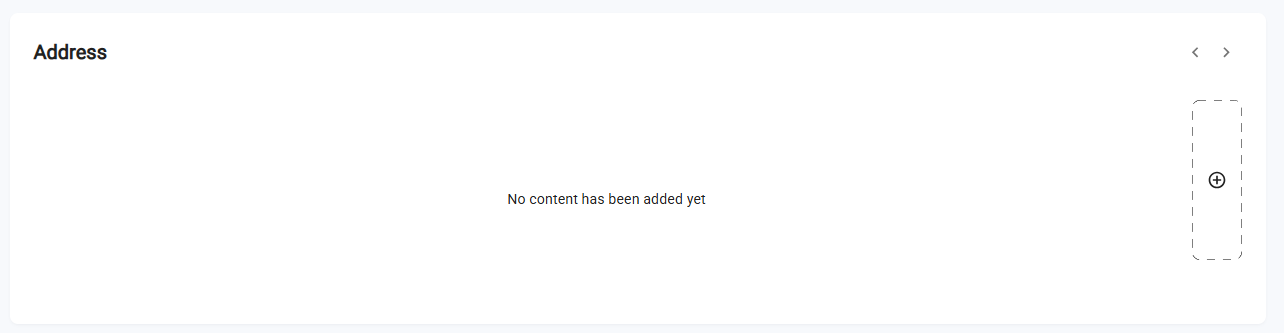
Step 4: Add a New Address
- On the Address Card, click the "+" button on the right side.
- An Add Address Form will appear.
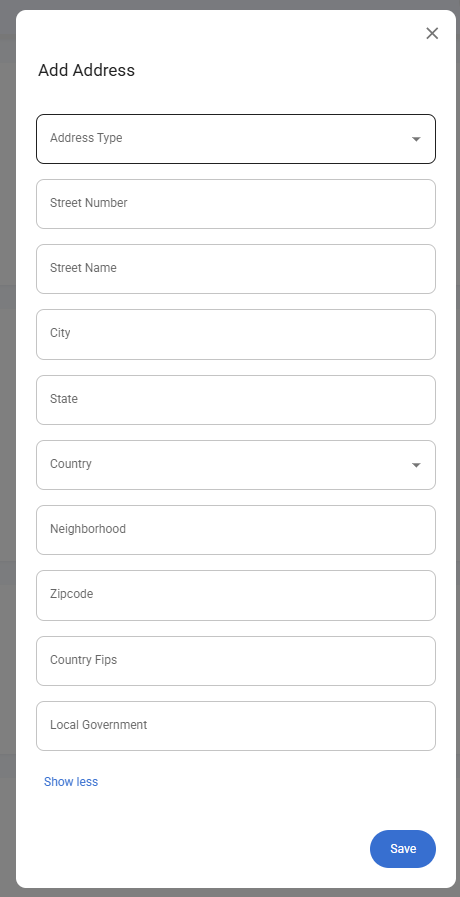
Fill in the following fields:
Required Fields:
- Address Type – Select either Residential or Permanent
- Street Number – Enter building/house number (e.g., "22")
- Street Name – Enter street name (e.g., "Baker Street")
- City – Enter city name (e.g., "London")
- State – Enter state/province (e.g., "Greater London")
Additional Fields (click "Show More" to expand):
- Country – Select from the dropdown list
- Neighborhood – Local area (e.g., "Westminster")
- Zipcode – Postal code (e.g., "NW1 6XE")
- Country FIPS – Enter FIPS code if required
- Local Government – Enter local government/authority name
- After completing the form, click "Save".
- A notification will appear:
- "Residential address updated successfully" or
- "Permanent address updated successfully"
depending on the selected Address Type.
- The new address will now display in the Address Card.
✅ The "+" button remains available to add multiple addresses if needed.
Step 5: Edit an Existing Address
- In the Address Card, locate the address you want to update.
- Click the three-dot menu icon (⋮) next to that address.
- Select "Edit".
- The Edit Address Form will appear, pre-filled with the current details.
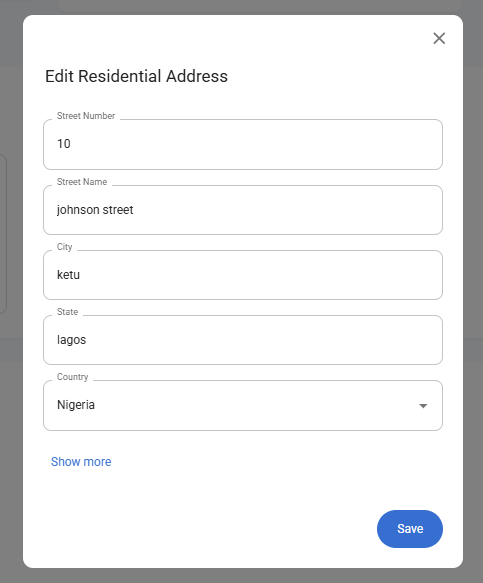
- Update the necessary fields.
- Click "Save".
- A notification will appear:
- "Residential address updated successfully" or
- "Permanent address updated successfully"
depending on the selected Address Type.
Notes
- The required fields for any address are: Address Type, Street Number, Street Name, City, and State.
- Multiple addresses can be added for a single employee (e.g., both Residential and Permanent).
- Use the Edit option to correct or update address details at any time.