How to Manage Organization Groups
Overview
This guide explains how to create, edit, and delete organization groups in the Settings area of the Payroll workspace. Organization groups let you categorize employees or units into logical groupings, making it easier to manage payroll structures and reporting.
Prerequisites
- Access to the Payroll workspace
- Permission to manage settings
- A clear understanding of how groups should be structured for your organization
When You Need This
- Setting up your first organization groups
- Adding new groups as your organization expands
- Editing or renaming existing groups to match structural changes
- Deleting outdated or duplicate groups
Step-by-Step Instructions
Step 1: Open the Groups Settings
- Log into your Payroll workspace at
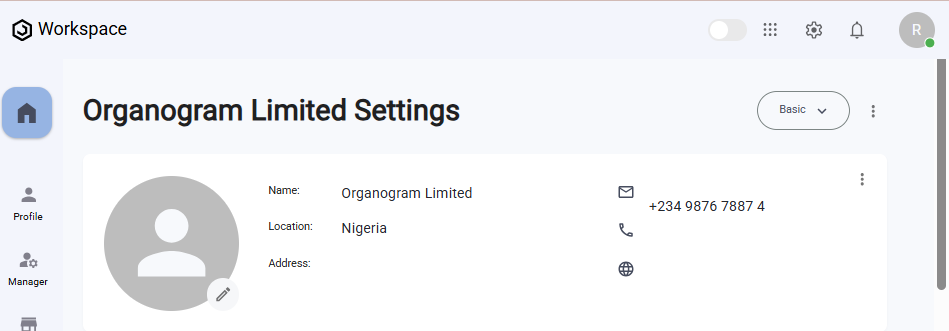
payroll.organogram.app. - From the left sidebar, click Settings.
- Either:
- Use the dropdown navigator at the top of the Settings page to jump to Groups, or
- Scroll down until you find the Groups card.

Step 2: Create a New Group
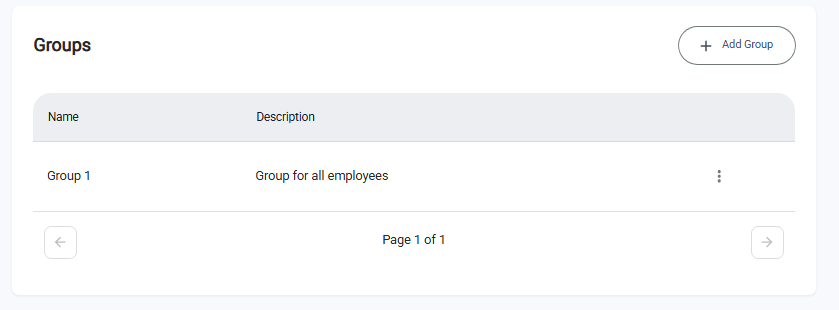
- On the Groups card, click + Add Group.
- The Create Group Form will appear.
Fill in the fields:
- Name — Enter the name of the group (e.g., “Management”, “Retail Locations”).
- Description — Provide a short description of the group.
- Click Save.
- A notification appears: “Group created successfully.”
- The new group now shows in the Groups Table.

✅ The + Add Group button remains available so you can add more groups.
Step 3: Edit an Existing Group
- In the Groups Table, find the group you want to update.
- Click the three-dot menu (⋮) next to that group.
- Select Edit.
- The Edit Group Form opens with the group’s current details pre-filled.
- Make the necessary updates (e.g., change name or description).
- Click Save.
- A notification appears: “Group updated successfully.”
- The Groups Table refreshes with the updated details.
Step 4: Delete a Group
- In the Groups Table, locate the group you want to remove.
- Click the three-dot menu (⋮) next to it.
- Select Delete.
- A confirmation dialog will appear.
- Click Yes to confirm deletion.
- A notification appears: “Group deleted successfully.”
- The group is removed from the Groups Table.
