How to Manage Employee Loan Applications
Overview
This guide explains how to create, view, edit, and delete employee loan applications within the Payroll Workspace. You’ll learn how to set up a loan application type, assign loans to employees, and manage them from the Loan Applications page.
Prerequisites
- Access to the Payroll workspace platform
- Admin or authorized permissions to manage payroll data
- A loan application category created in the Settings page
When You Need This
- Applying loans for employees directly through the payroll system
- Updating loan details such as repayment terms or remarks
- Reviewing full details of an employee loan application
- Removing loans that are no longer applicable
Step-by-Step Instructions
Step 1: Access the Loan Applications Page
- Log into your Organogram Payroll workspace at
payroll.organogram.app. - From the left-hand sidebar, click "Payroll".
- Under the Payroll section, select "Loan Applications".
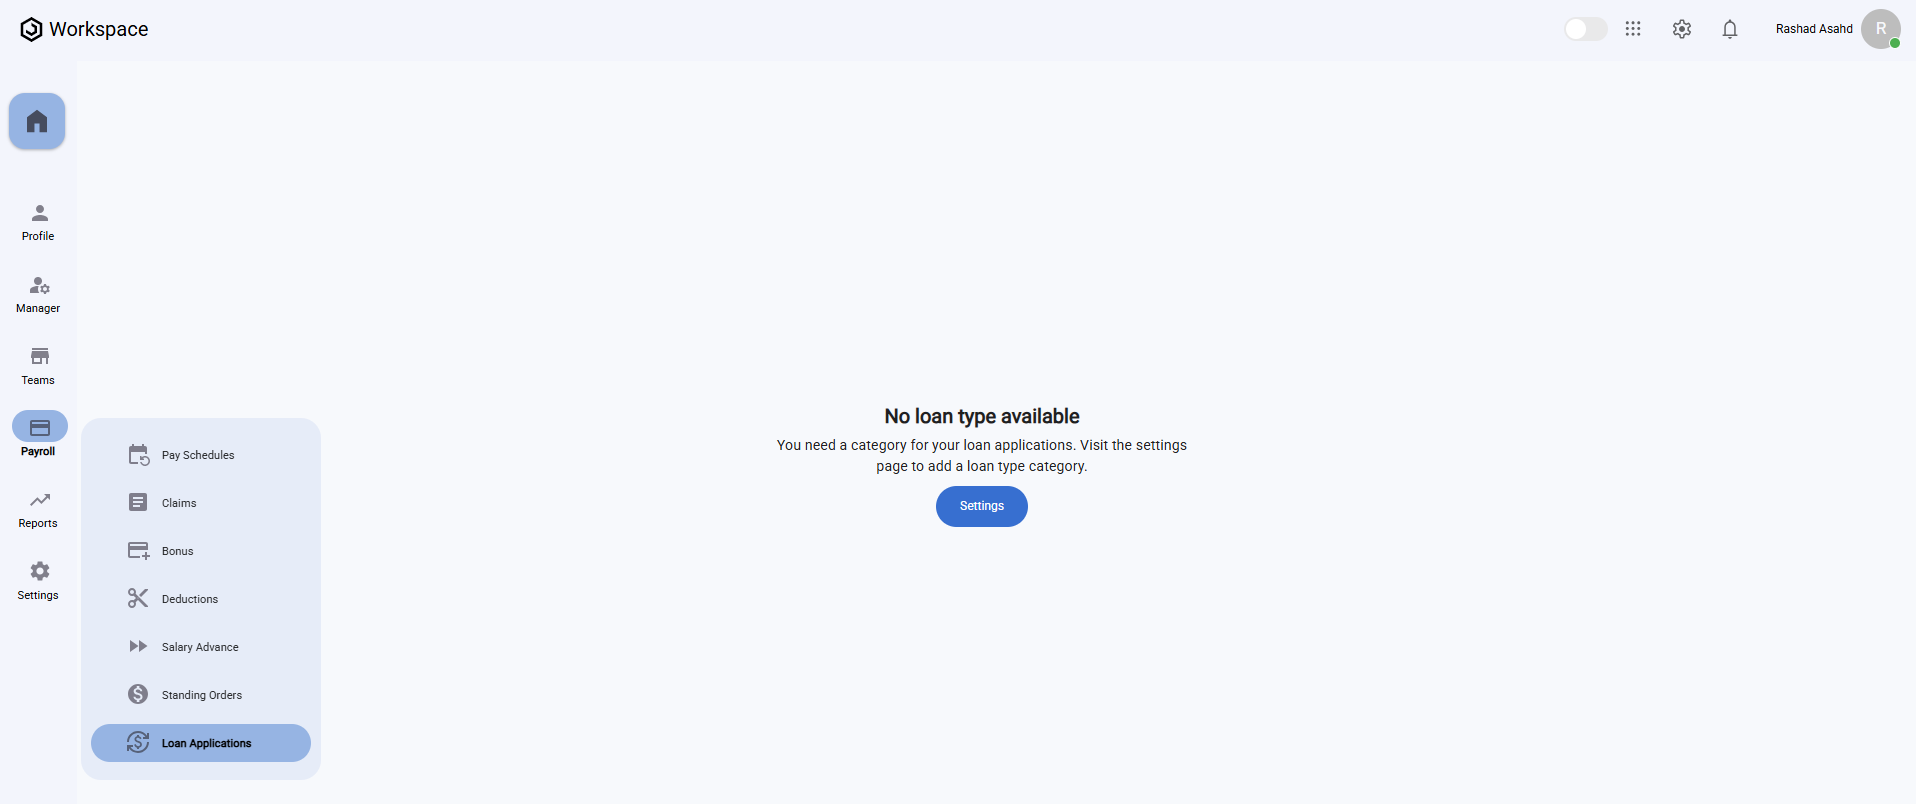
⚠️ If you don’t have a loan type, click the "Settings" button on the Loan Applications page or click on settings from the left sidebar and scroll down to Loan Types to create one before proceeding.
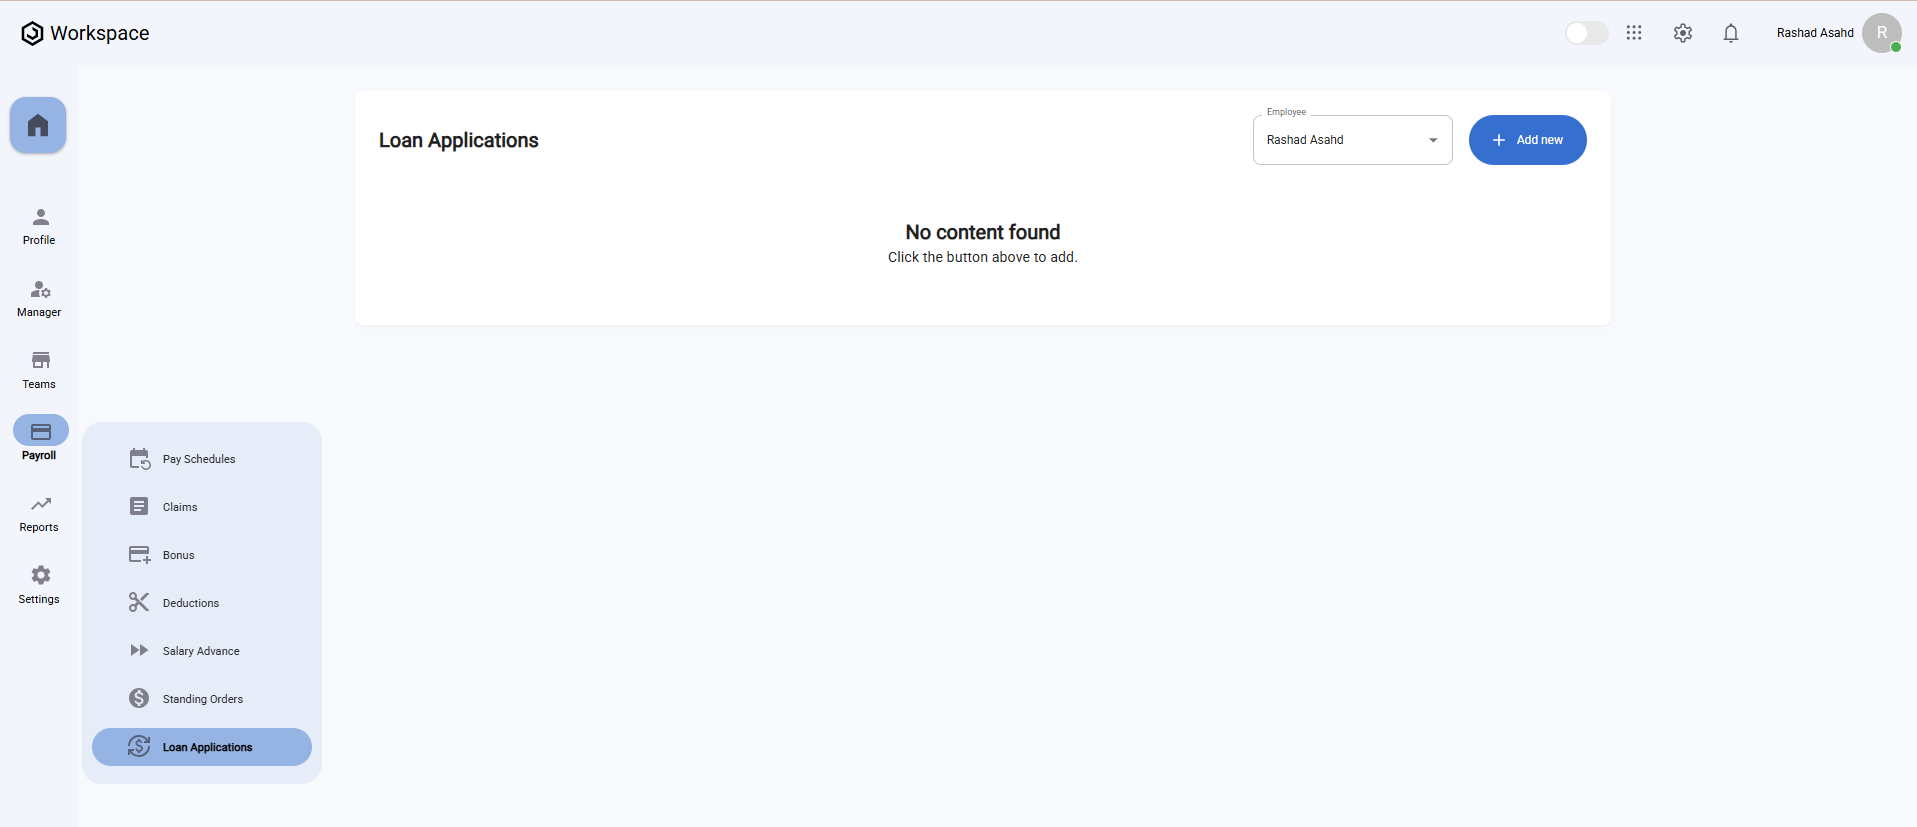
On the Loan Applications page, you’ll find:
- A dropdown at the top to select an Employee.
- An "Add New" button to create a loan application.
- A message that says "No content found" if no loan applications exist.
Step 2: Create a New Loan Application
- On the Loan Applications page, select the Employee from the dropdown at the top of the page.
- Click the "Add New" button.
- The "Create Loan Application" form will appear.
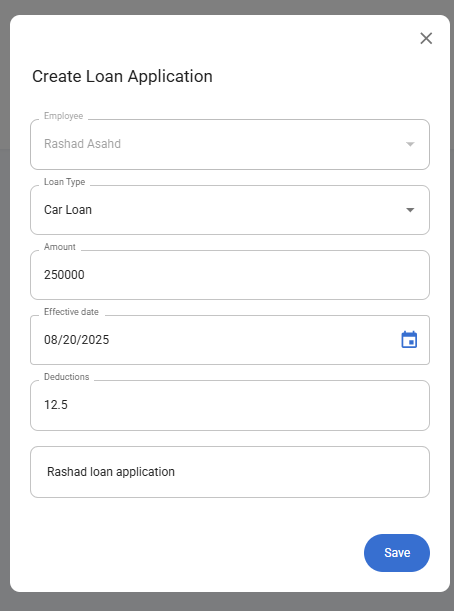
Fill in the following fields:
- Employee – This field will be preselected based on the employee chosen from the top dropdown, but you can reselect another employee if needed.
- Loan Type – Select the loan type (must be created as a category beforehand).
- Amount – Enter the loan amount.
- Effective Date – Choose the date when the loan becomes active.
- Deductions – Enter deduction amount
- Remarks – Add any additional notes or comments.
- After filling in the information, click the "Save" button.
- A notification will appear: "Loan application created successfully".
- The newly added loan will now display in the Loan Applications Table, along with its Application Date.
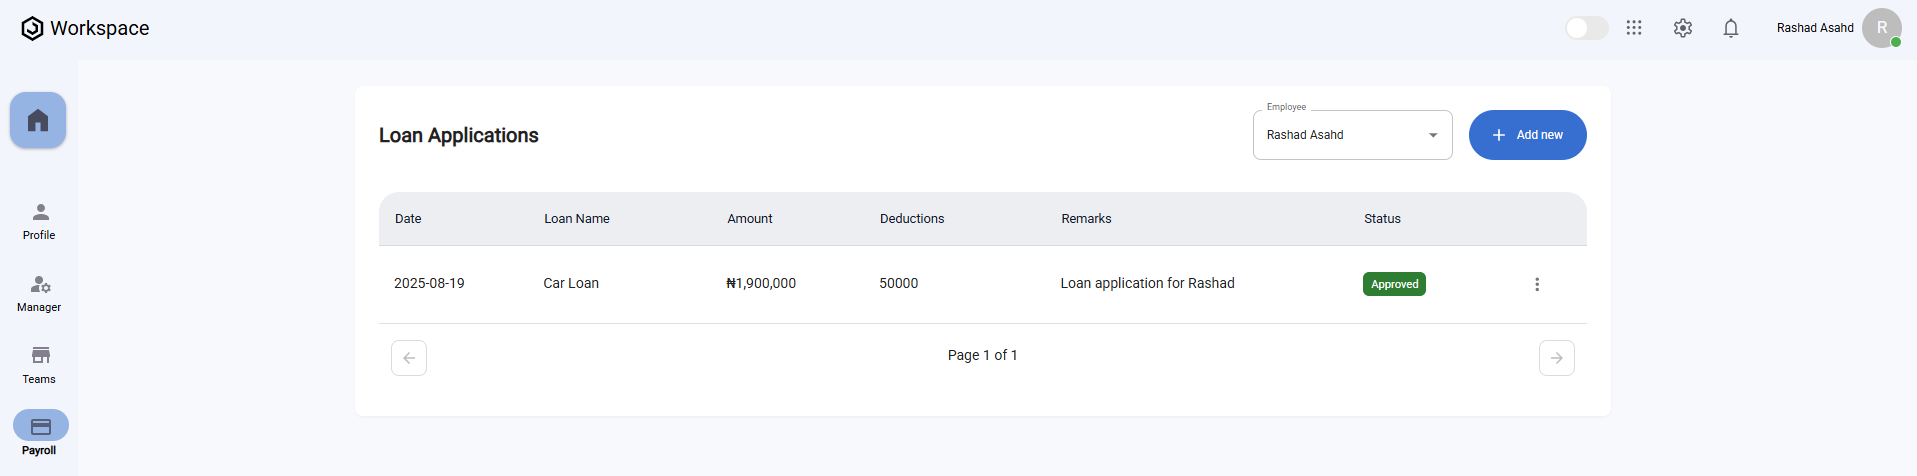
Step 3: View an Employee Loan Application
- Locate the loan you wish to view in the Loan Applications Table.
- Click the three-dot menu icon (⋮) on the right-hand side of the row.
- Select "View".
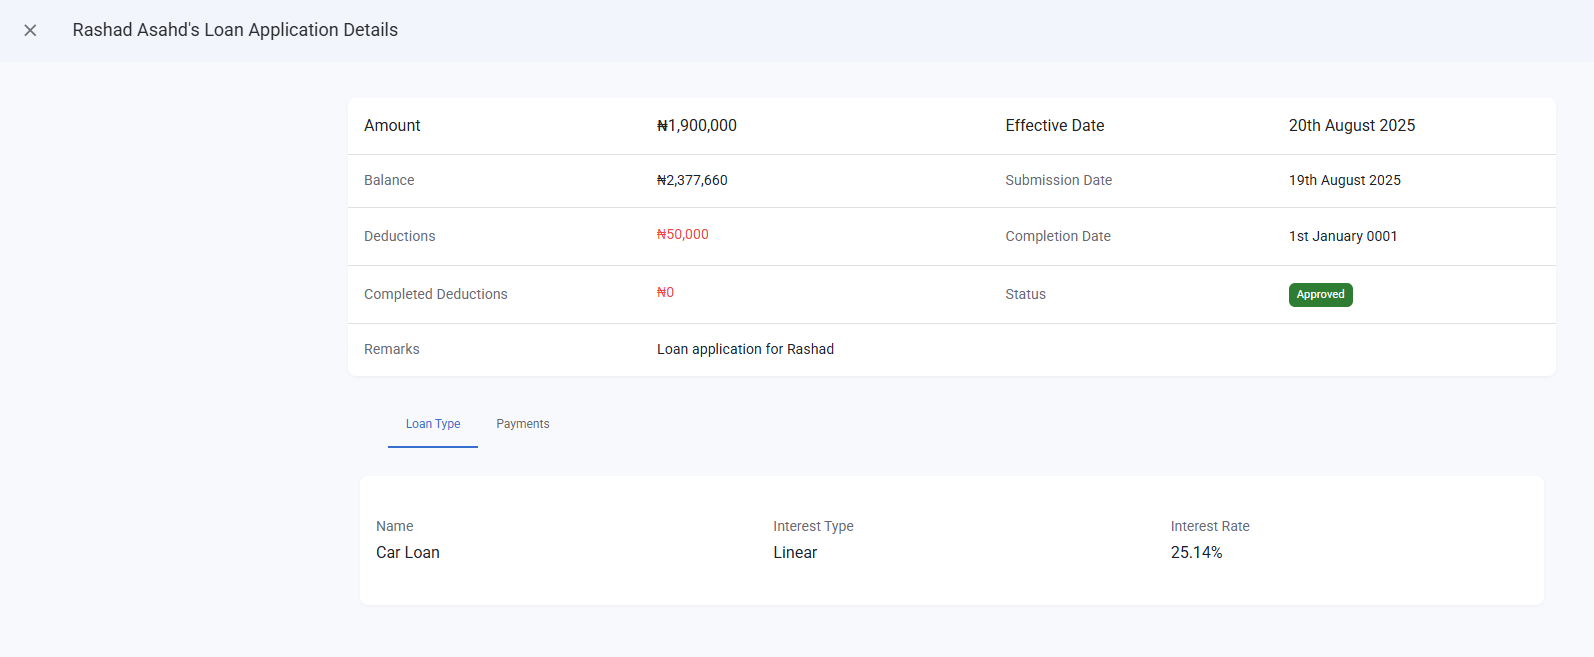
- A full-screen details dialog will open, displaying all loan application details, including:
- Employee
- Effective Date
- Submission Date
- Completion Date
- Loan Type
- Amount
- Balance
- Deductions
- Status
- Remarks
Step 4: Edit an Employee Loan Application
- Locate the loan you wish to edit in the Loan Applications Table.
- Click the three-dot menu icon (⋮) on the row.
- Select "Edit".
- The Edit Loan Application form will appear, pre-filled with the current details.
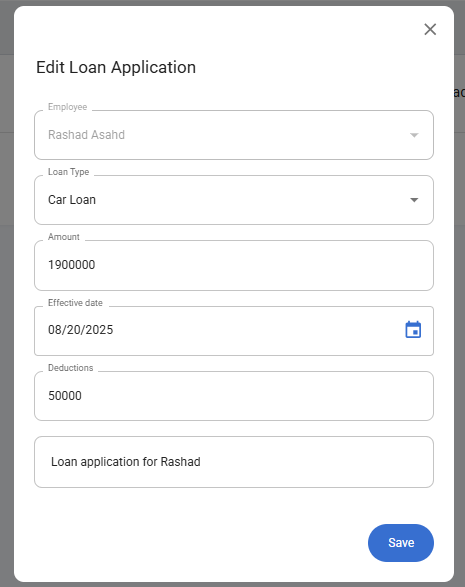
- Update the necessary fields such as Loan Type, Amount, Effective Date, Deductions, or Remarks.
- Click "Save".
- A confirmation notification will appear: "Loan application updated successfully".
Note: The employee initially selected cannot be changed during editing. Only other details can be updated.
Step 5: Delete an Employee Loan Application
- In the Loan Applications Table, click the three-dot menu icon (⋮) on the entry you want to remove.
- Select "Delete".
- A confirmation dialog will appear asking if you’re sure.
- Click "Yes" to confirm.
- The loan application will be deleted, and a notification will appear: "Loan application deleted successfully".