How to Manage Payroll Units
Overview
This guide explains how to create, edit, and delete payroll units from the Settings area of the Payroll workspace. You’ll learn how to add your first unit, assign parent–child relationships as your structure grows, and maintain the unit list with quick edits or deletions.
Prerequisites
- Access to the Payroll workspace
- Permission to manage settings
- Clarity on your intended unit structure (e.g., Departments, Divisions, Teams)
When You Need This
- Setting up your payroll organizational structure
- Adding new units as the business grows
- Re-parenting units to reflect restructuring
- Removing obsolete or duplicate units
Step-by-Step Instructions
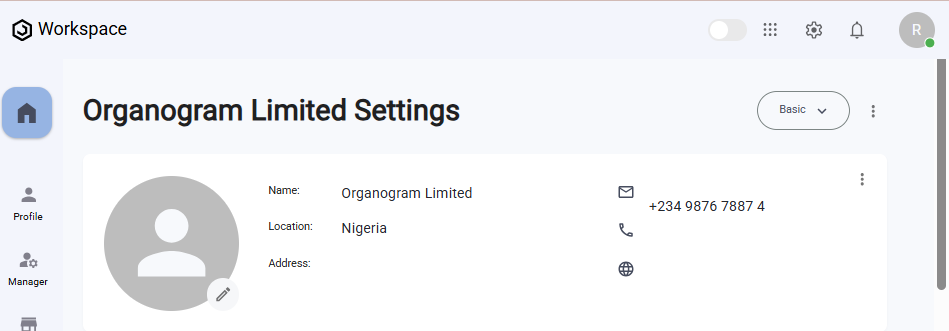
Step 1: Open the Units Settings
- Log into your Payroll workspace at
payroll.organogram.app. - In the left sidebar, click Settings.
- Either:
- Use the dropdown navigator at the top of the Settings page to jump to Units, or
- Scroll down until you find the Units card.

Step 2: Create a New Unit
- On the Units card, click + Add Unit.
- The Add Unit form appears.

Fill in the fields:
- Name — Enter the unit name (e.g., “Finance”, “Retail Ops”).
- Parent — Choose a parent unit (dropdown).
- 🔹 First unit rule: When creating your first unit, the Parent dropdown will be empty.
- 🔹 Subsequent units: The dropdown will list previously created units so you can build a hierarchy.
- Click Save.
- You’ll see a notification: “Unit created successfully.”
- The new unit appears in the Units table.
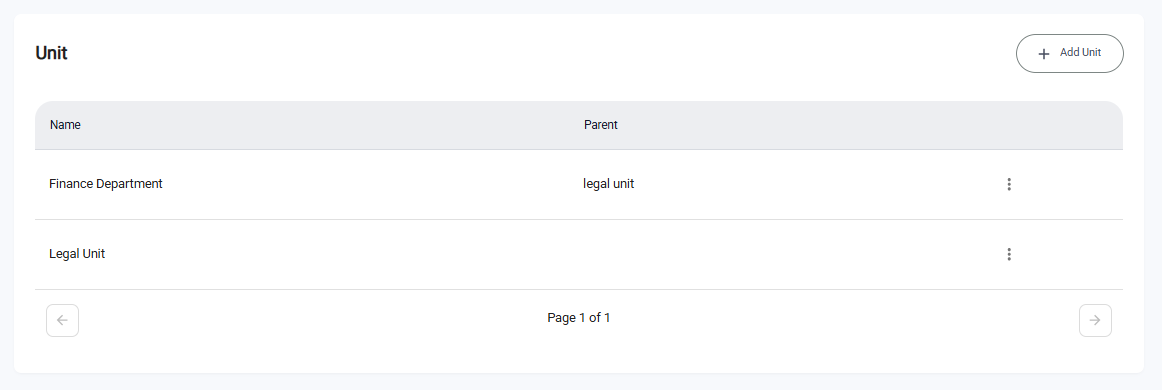
Successful Creation Confirmation:
- Unit appears with Name and (optional) Parent
- Add Unit button remains available to add more units
- Hierarchy displays the chosen parent–child relationship
Step 3: Edit an Existing Unit
- In the Units table, locate the unit you want to modify.
- Click the three-dot menu (⋮) on that row and select Edit.
- The Edit Unit form opens with current values.

- Update Name and/or Parent as needed.
- Click Save.
- You’ll see a notification: “Unit updated successfully.”
- The table refreshes to reflect your changes.
ℹ️ Tip: Changing the Parent adjusts where the unit sits in your hierarchy.
Step 4: Delete a Unit
- In the Units table, click the three-dot menu (⋮) on the unit you want to remove.
- Select Delete.
- A confirmation dialog appears.
- Click Yes to confirm.
- You’ll see a notification: “Unit deleted successfully.”
- The unit is removed from the table.
⚠️ Heads-up: Depending on your workspace rules, units with dependent children or assignments may need to be re-parented or cleared before deletion.
What You’ll See on the Units Table
- Name — The unit’s display name
- Parent — The immediate parent unit (or “None” for top-level units)