How to Manage Employee Claims
Overview
This guide walks you through creating, updating, and deleting employee claims within the Payroll Workspace. You’ll learn how to set up a claim category, create a new employee claim, and manage existing claims efficiently. The process ensures payroll administrators can properly record, track, and manage reimbursement or expense requests while maintaining clear visibility on claim statuses.
Prerequisites
- Access to the Payroll workspace platform
- Admin or authorized permissions to manage payroll data
- A claim category created in the Settings page
When You Need This
- Recording reimbursement or expense claims for employees
- Updating the details of an existing claim (e.g., amount or category)
- Removing claims that are no longer valid or applicable
- Reviewing or declining submitted employee claims
Step-by-Step Instructions
Step 1: Access the Claim Page
- Log into your Organogram Payroll workspace at
payroll.organogram.app. - From the left-hand sidebar, click "Payroll".
- Under the Payroll section, select "Claims".
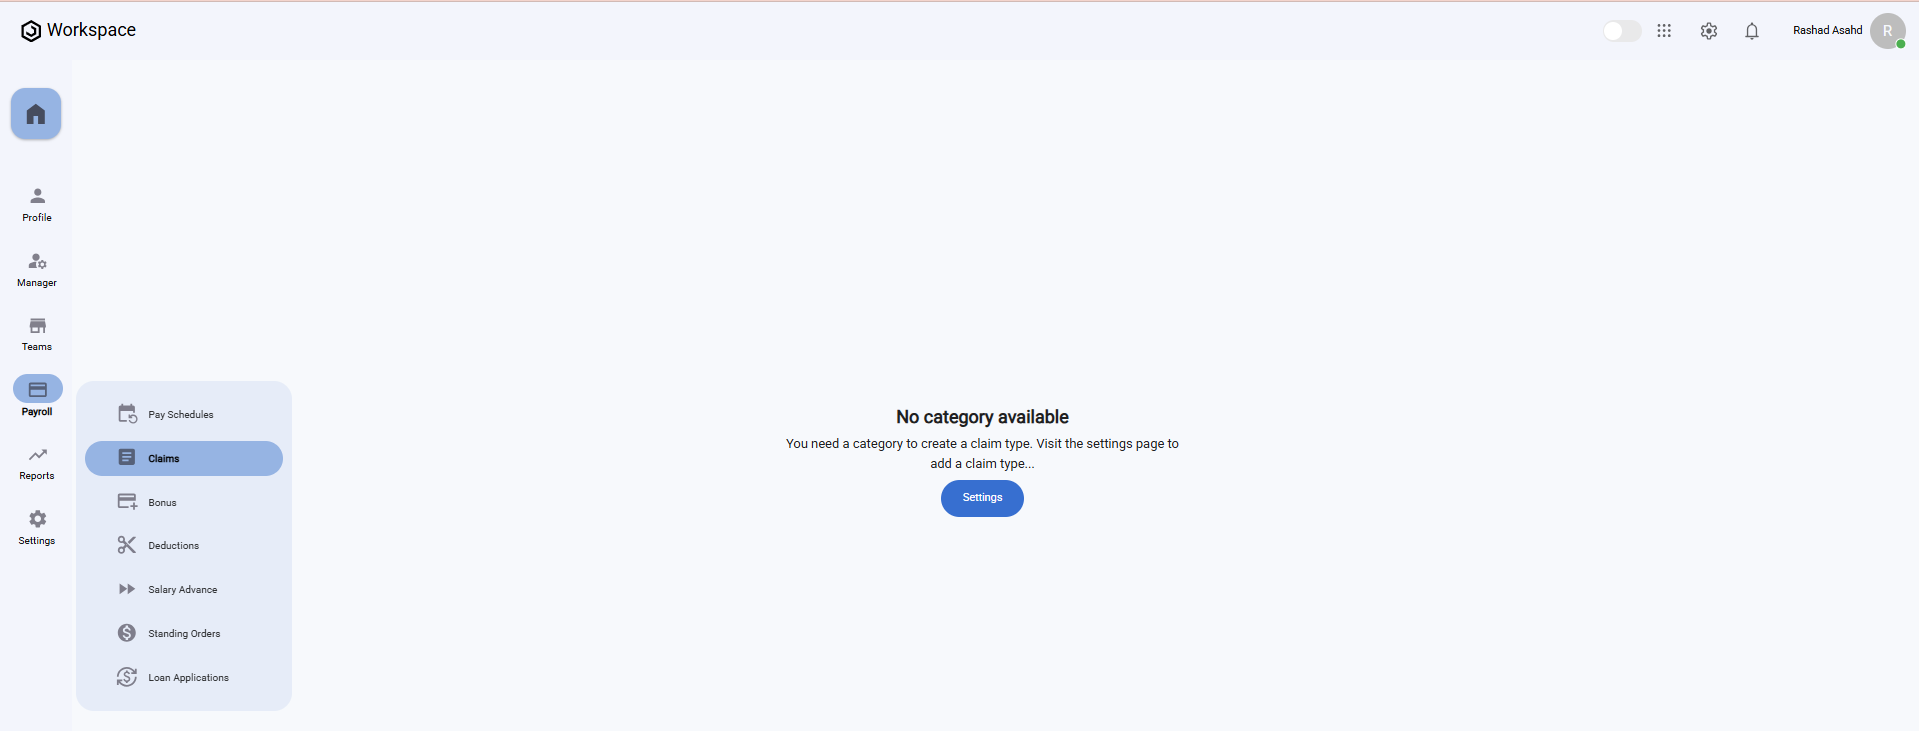
⚠️ If you don’t have a claim category, click the "Settings" button on the Claim page or click on settings from the left sidebar to create one before proceeding.
- After creating a claim category, an employee claim can then be created.
Step 2: Create a New Employee Claim
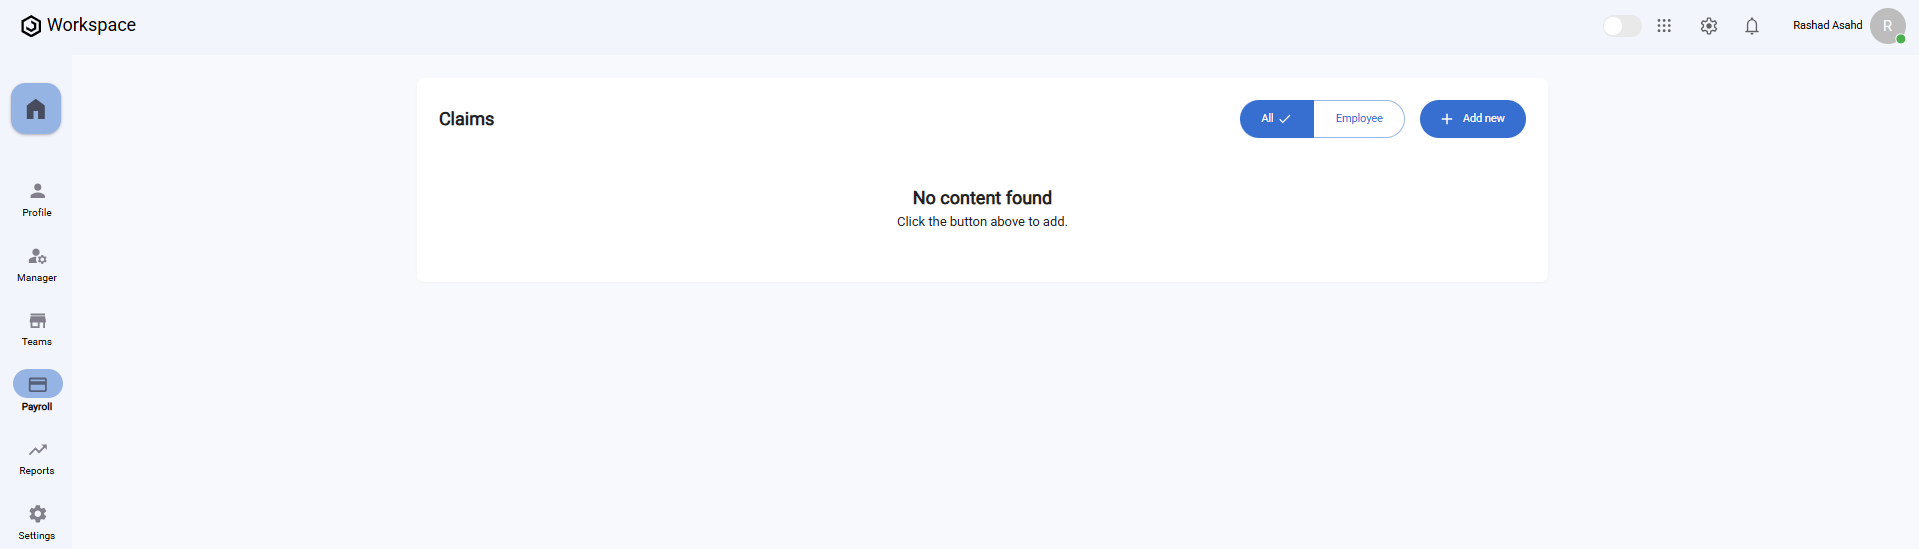
- On the Claim page, click the "Add New" button.
- The "Add Claim" form will appear.

Fill in the following fields:
- Employee – Select the employee submitting the claim (dropdown list).
- Effective Date – Choose the date using the datepicker for when the claim takes effect.
- Category – Select the claim category (must be created beforehand).
- Amount – Enter the claim amount.
- Remarks – Add any notes or comments.
- After filling in the information, click the "Save" button.
- A notification will appear: "Claim created successfully".
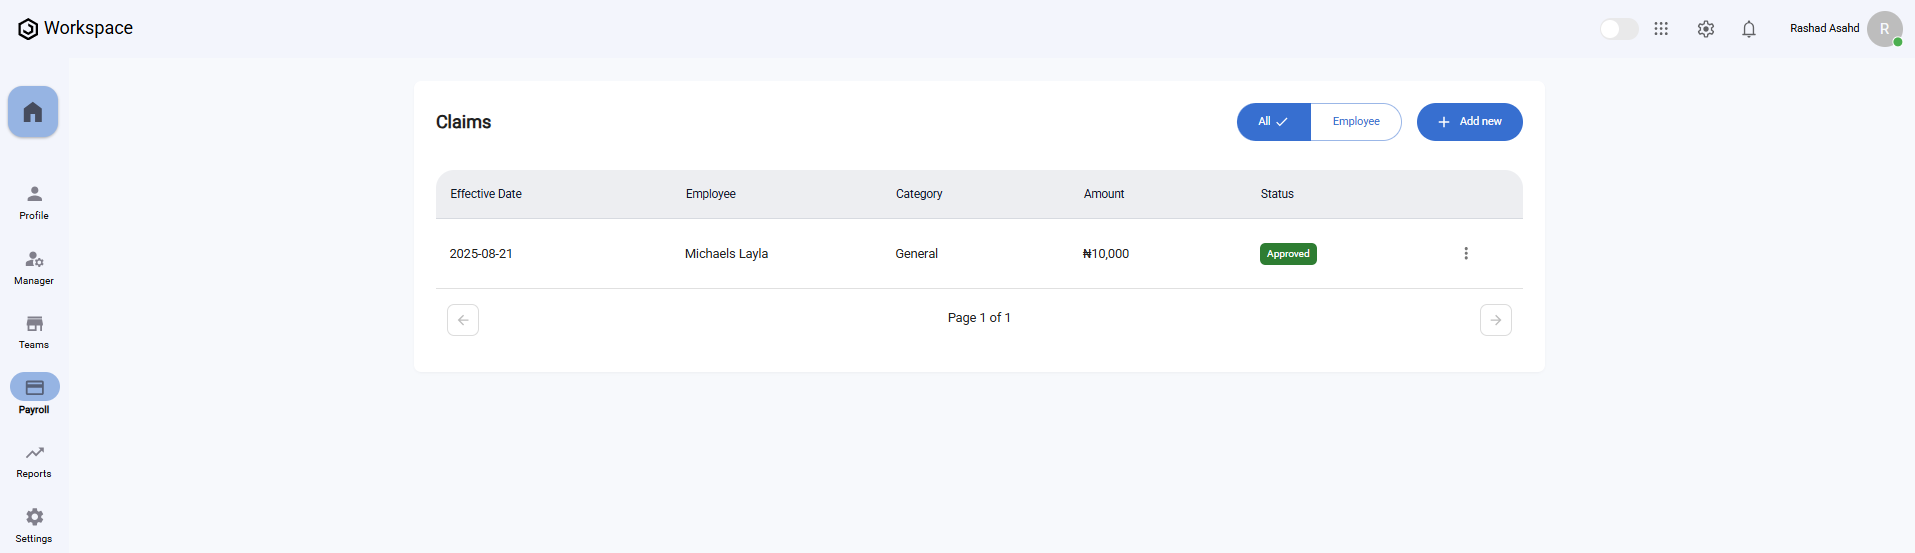
- The newly added claim will now display in the Claim Table.
✅ On the Claim Table, you’ll see the claim listed with columns such as Employee, Category, Amount, Effective Date, Remarks, and Status. By default, the Status column shows Approved after creation.
Step 3: View an Employee Claim
- Locate the claim you wish to view in the Claim Table.
- Click the three-dot menu icon (⋮) on the right-hand side of the claim row.
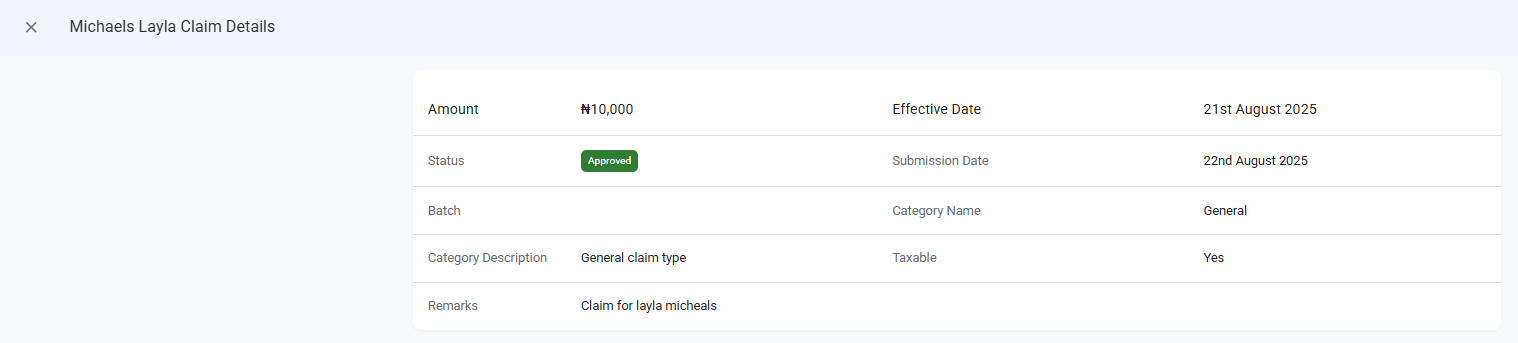
- Select "View".
- A full-screen details dialog will open, displaying all claim information including:
- Amount
- Effective Date
- Status
- Submission Date
- Batch
- Category Name
- Category Description
- Taxable
- Remarks
Step 4: Edit an Employee Claim
- Locate the claim you wish to edit in the Claim Table.
- Click the three-dot menu icon (⋮) on the right-hand side of the claim row.
- Select "Edit".
- The Edit Claim form will appear, pre-filled with the current details.
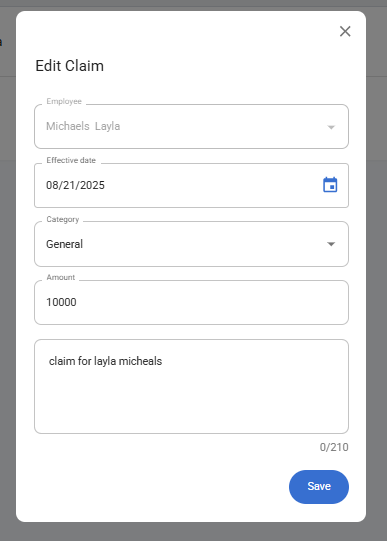
- Update the necessary fields (e.g., amount, category, or remarks).
- Click "Save".
- A confirmation notification will appear: "Claim updated successfully".
Note: The employee initially selected cannot be changed during editing. Only other details such as Effective Date, Category, Amount, and Remarks can be updated.
Step 5: Decline an Employee Claim
- Locate the claim you wish to decline in the Claim Table.
- Click the three-dot menu icon (⋮) on the right-hand side of the claim row.
- Select "Decline".
- A confirmation dialog will appear asking if you want to decline the claim.
- Click "Yes" to confirm.
- The claim status will update, and the Status column in the Claim Table will change to Declined.
Step 6: Delete an Employee Claim
- In the Claim Table, click the three-dot menu icon (⋮) on the claim entry you want to remove.
- Select "Delete".
- A confirmation dialog will appear asking if you’re sure.
- Click "Yes" to confirm.
- The claim will be deleted, and a notification will appear: "Claim deleted successfully".