How to Add a New Employee
Overview
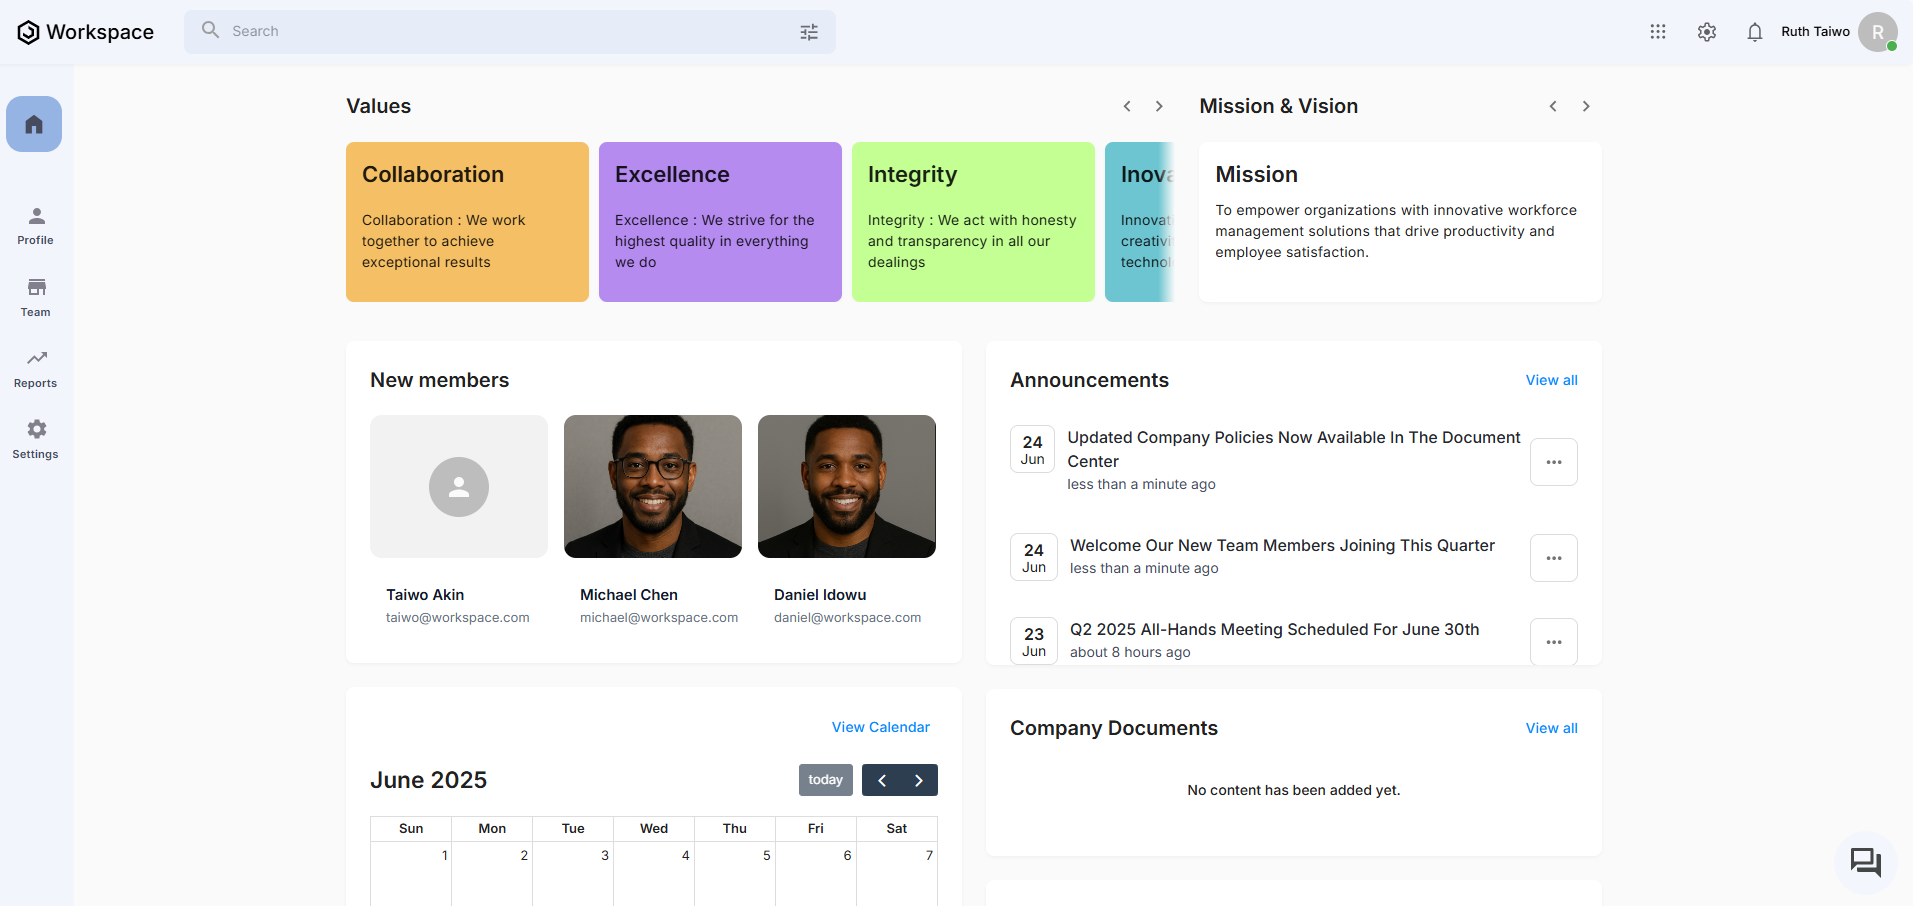
This guide walks you through the process of adding a new employee to the Organogram HCM system. You'll learn how to access the employee management section and create a complete employee profile.
Prerequisites
- Access to the Organogram workspace platform
- Employee's basic information (first name, last name, email, staff ID)
Step-by-Step Instructions
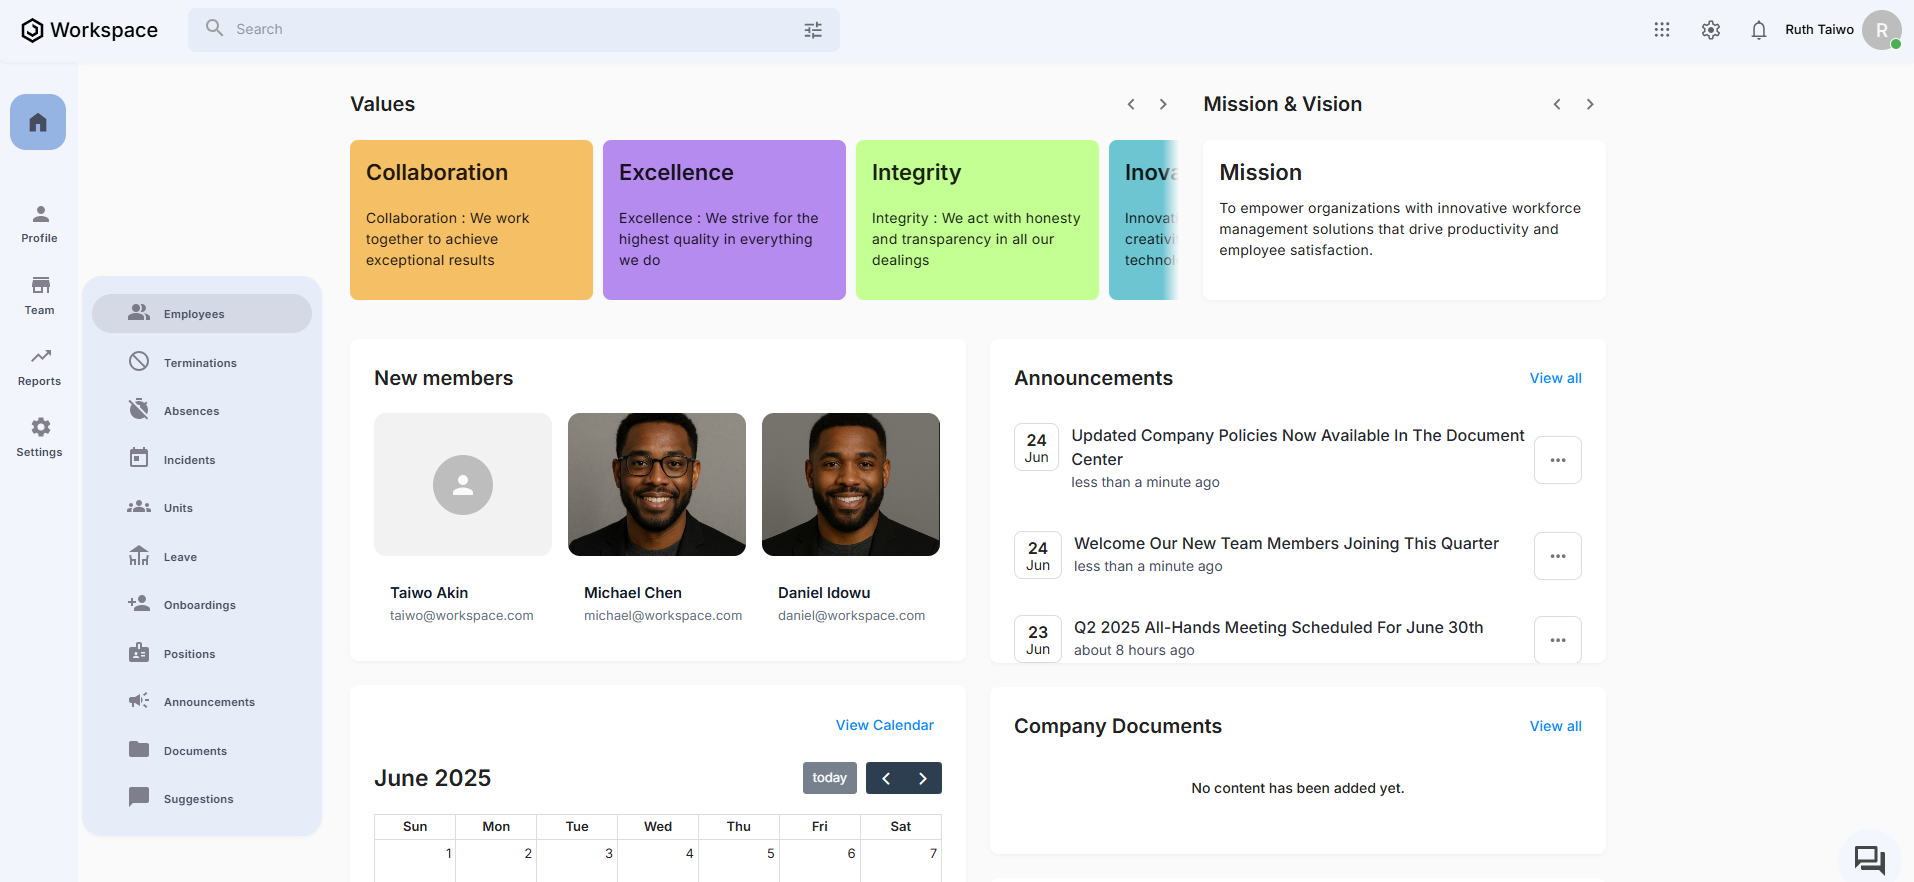
Step 1: Access the Employee Management Section
- Log into your Organogram workspace at
people.organogram.app - In the left sidebar, look for the Teams section
- Click on "Employees" from the navigation menu
- You'll see the main employee directory page
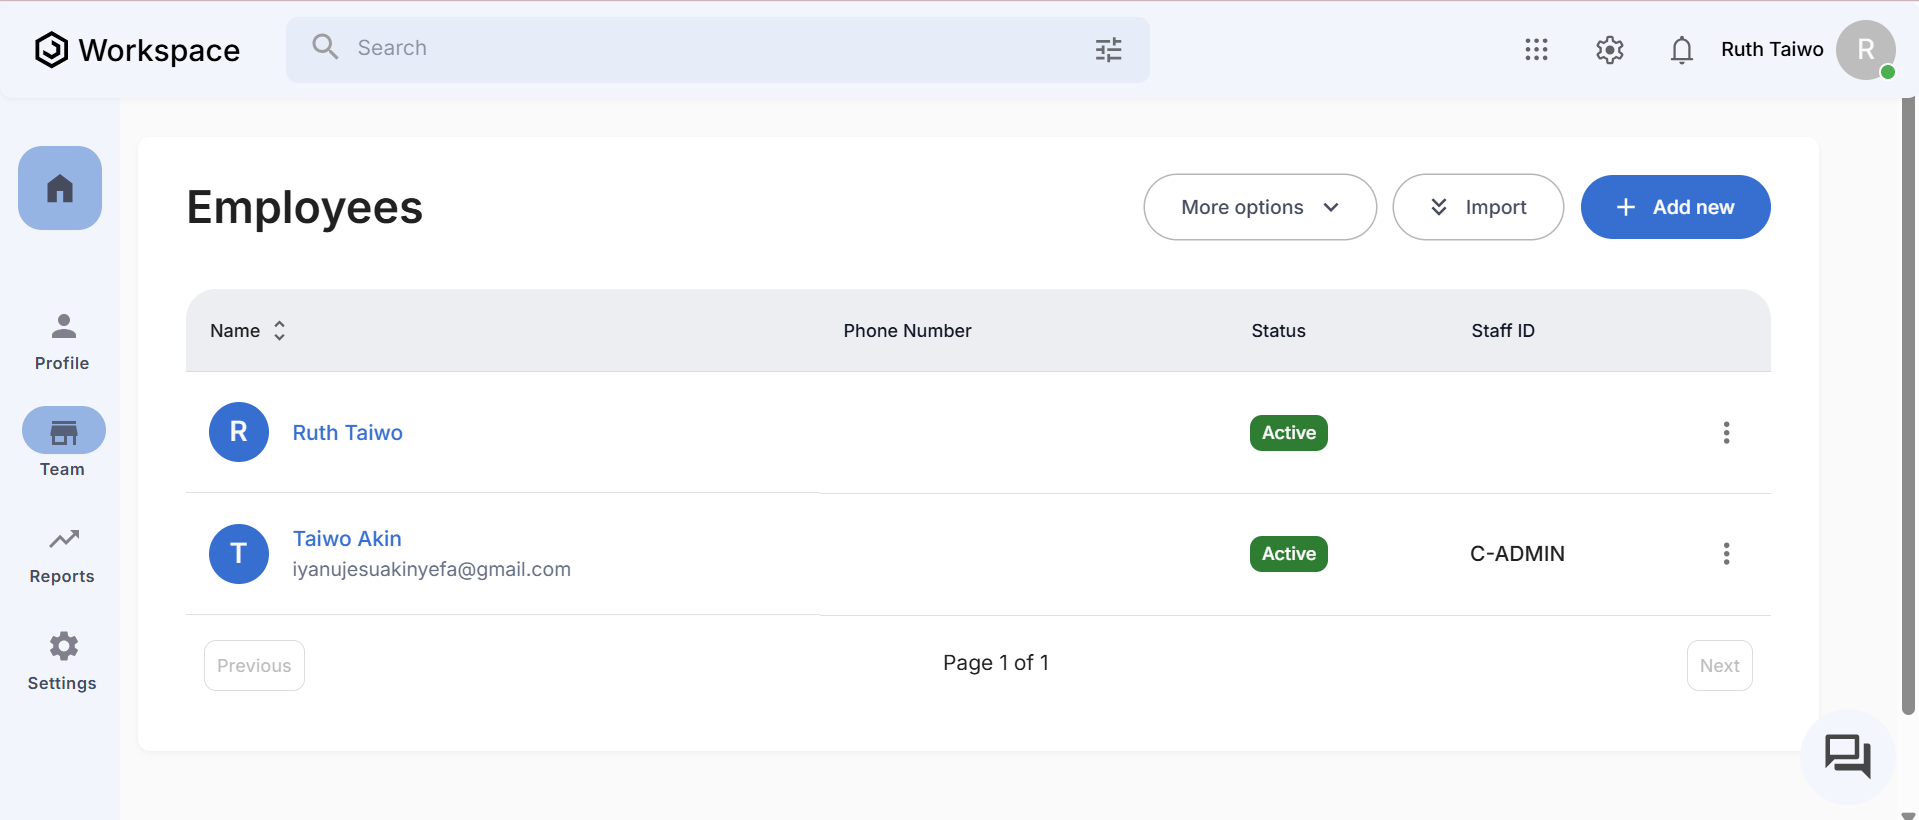
Step 2: Navigate to Add Employee
- On the Employees page, you'll see the current employee list
- In the top-right corner, locate the blue "+ Add new" button
- Click on "+ Add new" to open the employee creation form
Step 3: Fill in Employee Information
The "Add Employee" dialog box will appear with the following fields:
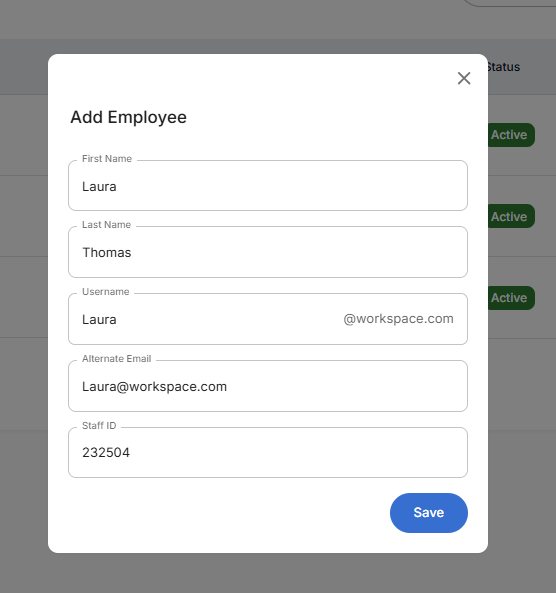
Required Information:
- First Name: Enter the employee's first name
- Last Name: Enter the employee's last name
- Username: Enter a username (note: this will automatically append @workspace.com)
- Alternate Email: Provide an alternate email address for the employee
- Staff ID: Enter a unique staff identifier for the employee
Step 4: Complete the Form
- Fill in all the required fields carefully
- Double-check the username format (it will show as username@workspace.com)
- Ensure the Staff ID is unique and follows your organization's numbering system
- Verify the alternate email address is correct
Step 5: Save the Employee
- Once all fields are completed, click the blue "Save" button at the bottom of the dialog
- The system will process the information and create the employee profile
- The dialog will close automatically upon successful creation
Step 6: Verify Employee Creation
- You'll be returned to the main Employees page
- The new employee should now appear in the employee list

- Check that their information displays correctly:
- Name appears in the "Name" column
- Status shows as "Active"
- Staff ID is displayed in the "Staff ID" column
What You'll See After Adding
- The new employee will appear in the employee directory
- Their status will be set to "Active" by default
- They'll be assigned the Staff ID you provided
- The employee count in your system will increase
Next Steps
After adding an employee, you may want to:
- Set up their role and permissions
- Add them to specific teams or departments
- Configure their access to different workspace modules
- Send them their login credentials
Related Tasks
After adding an employee to the HCM workspace, you might need to: