How to Add or Edit an Organization Mission
Overview
This guide walks you through the process of adding or updating your organization's mission statement in the Organogram Workspace platform. HR managers or administrators can either manually input the mission or use AI assistance to generate one. You’ll also learn how to format the mission text and make future edits when necessary.
Prerequisites
- Administrative access to the Organogram workspace platform
- Access to the Settings page within the workspace
When You Need This
- When setting up your organization's profile
- To update your company’s vision and direction
- To communicate organizational values and goals to employees
- When rebranding or restructuring your mission
Step-by-Step Instructions
Step 1: Navigate to Settings
- Log in to your Organogram workspace at
people.organogram.app - From the left-hand sidebar, click on "Settings"
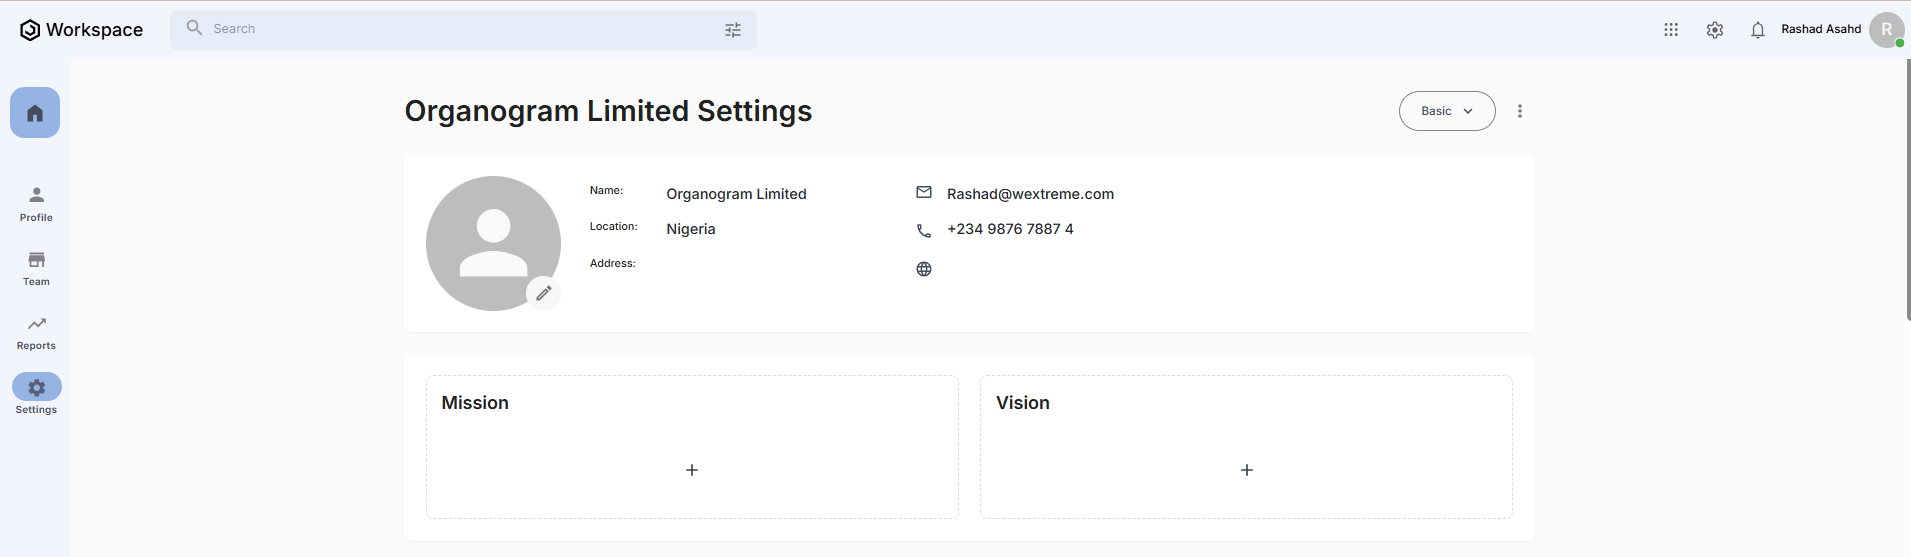
- Locate the Mission card on the Settings page
Step 2: Access the Add Mission Dialog
- On the Mission card, click the "+" icon
- The "Add Mission" dialog will appear
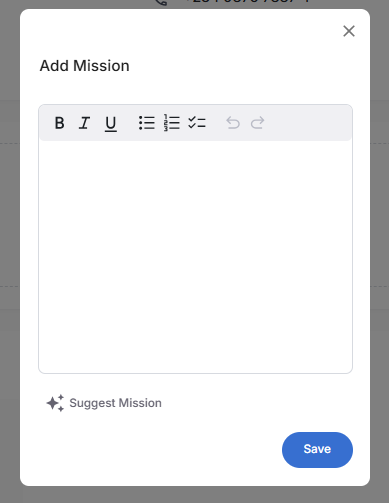
Step 3: Add Mission Manually or Use AI Suggestions
You have two options to add a mission:
Manual Input
- Type your organization’s mission directly into the text field
AI-Assisted Suggestion
- Type a few relevant keywords (e.g., "empowering teams, innovation")
- Click the "Suggest Mission" button below the text field
- The system will generate a suggested mission based on your input
You can edit or adjust the AI suggestion before saving.
Step 4: Format Mission Content
You can style your mission using the rich text editor:
- Bold – Highlight important words or phrases
- Italic – Emphasize terms or expressions
- Underline – Draw attention to key statements
- 🔢 Numbered Lists – Define steps or ordered points
- • Bullet Lists – Outline goals, values, or mission points
Step 5: Save the Mission
- After inputting or generating the mission, click the "Save" button
- A confirmation message will appear:
"Mission added successfully"
- The newly added mission will now appear on the Mission card
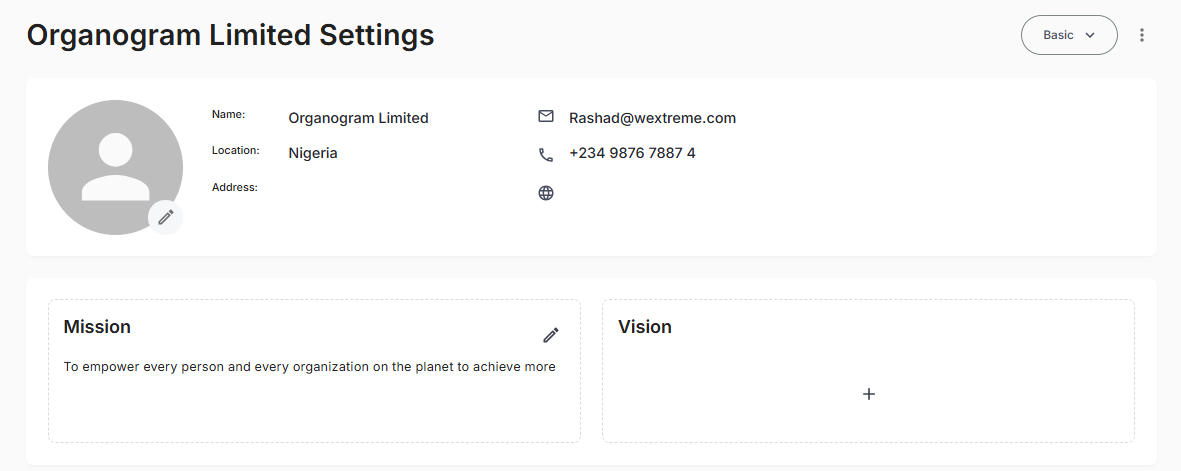
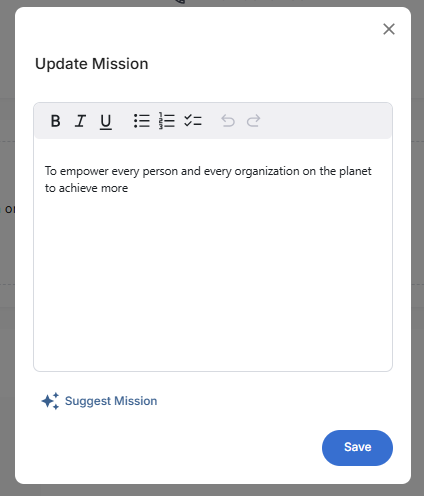
Step 6: Edit an Existing Mission
- On the Mission card, click the Edit (✏️) icon
- The "Update Mission" dialog will appear
- Modify the mission text as needed
- Click "Save" to apply the changes
- A success message will display:
"Mission updated successfully"
Related Tasks
After adding your organization's mission, you may also want to: