How to Manage Units
Overview
This guide shows HR managers how to create, edit, and delete organizational units in the Organogram HCM system. Units represent the structural hierarchy of the organization, such as company, groups, divisions, and departments. You'll learn how to use the organizational chart and list view to manage units effectively.
Prerequisites
- HR manager access to the Organogram workspace platform
- Permissions to manage units
- Knowledge of organizational hierarchy and reporting structure
When You Need This
- Adding new units (e.g., departments, divisions) to reflect organizational changes
- Updating unit information such as name, head count, or unit head
- Removing units that are no longer needed
- Reviewing organizational structure in chart or list format
Step-by-Step Instructions
Step 1: Access Units Page
- Log into your Organogram workspace at
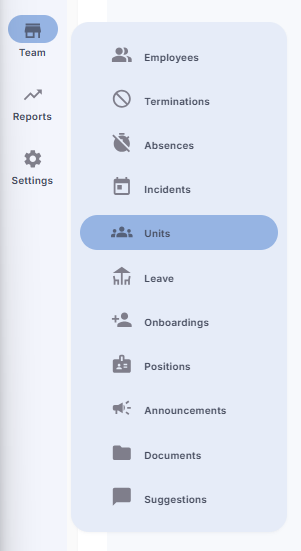
people.organogram.app - In the left sidebar, locate "Teams"
- Under Teams, click "Units"
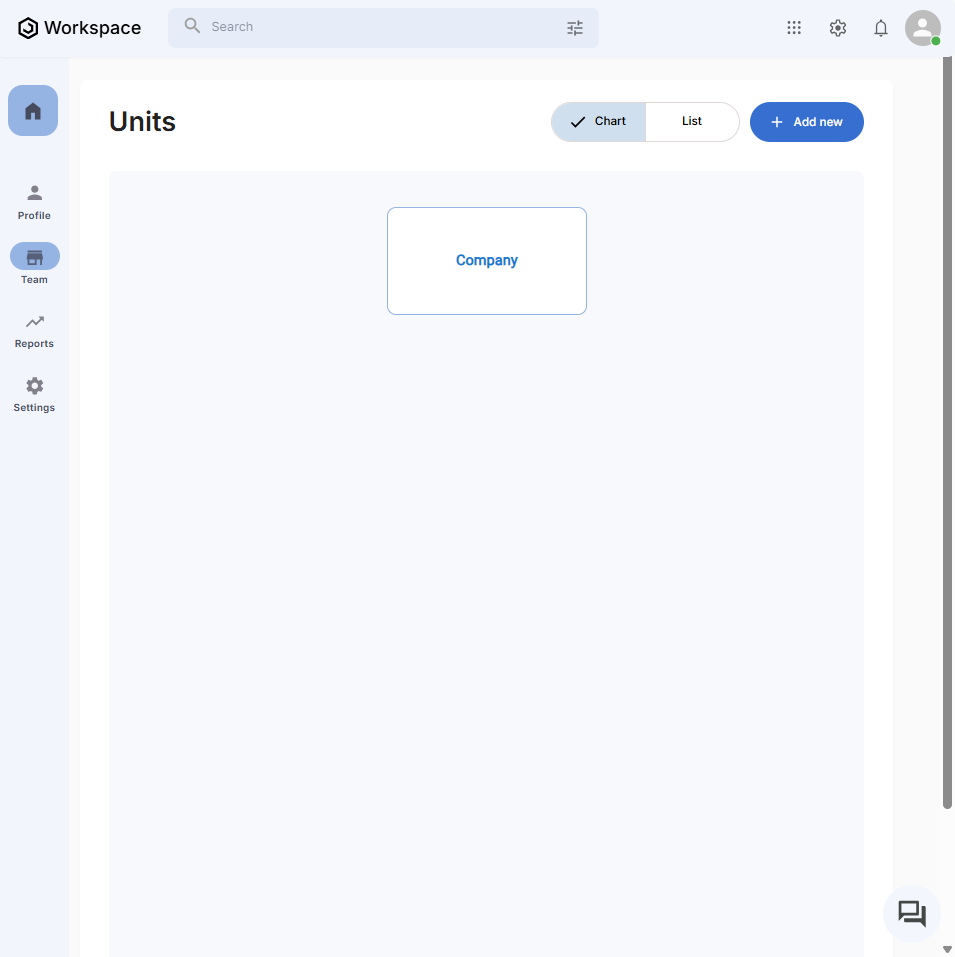
- This will open the Units page
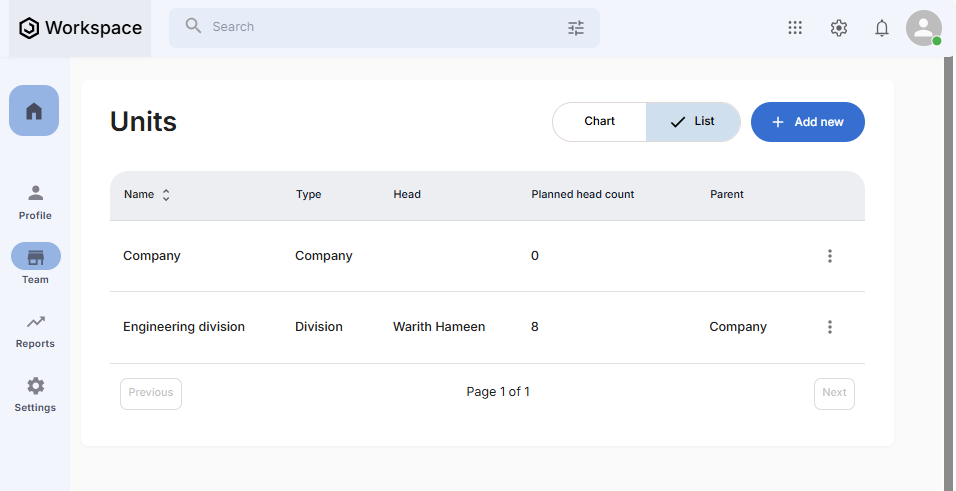
Step 2: View Units in Chart and List Tabs
- The Units page has two main views:
- Chart Tab – Displays the organizational chart of units
- List Tab – Displays units in a table format
- By default, you will see the Company Unit already created
- The Company Unit cannot be deleted, but it can be edited
Step 3: Add a New Unit
- On the top-right corner of the Units page, click the blue "+ Add New" button
- The Create Unit Form will appear
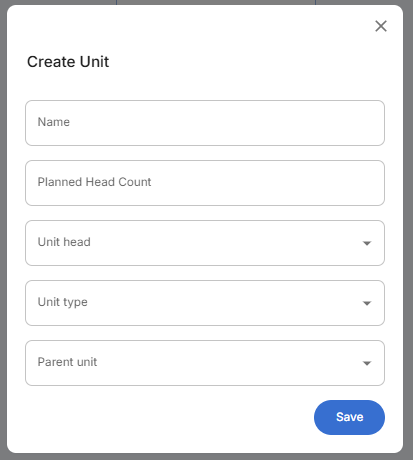
Fields in Create Unit Form:
- Name – Enter the unit’s name (e.g., "Finance Department")
- Planned Head Count – Enter the planned number of employees for this unit
- Unit Head – Select from a dropdown list of employees in the organization
- Unit Type – Choose from: Company, Group, Division, or Department
- Parent Unit – Select the parent unit from the dropdown (e.g., Company or Division)
- Click the blue "Save" button to create the unit
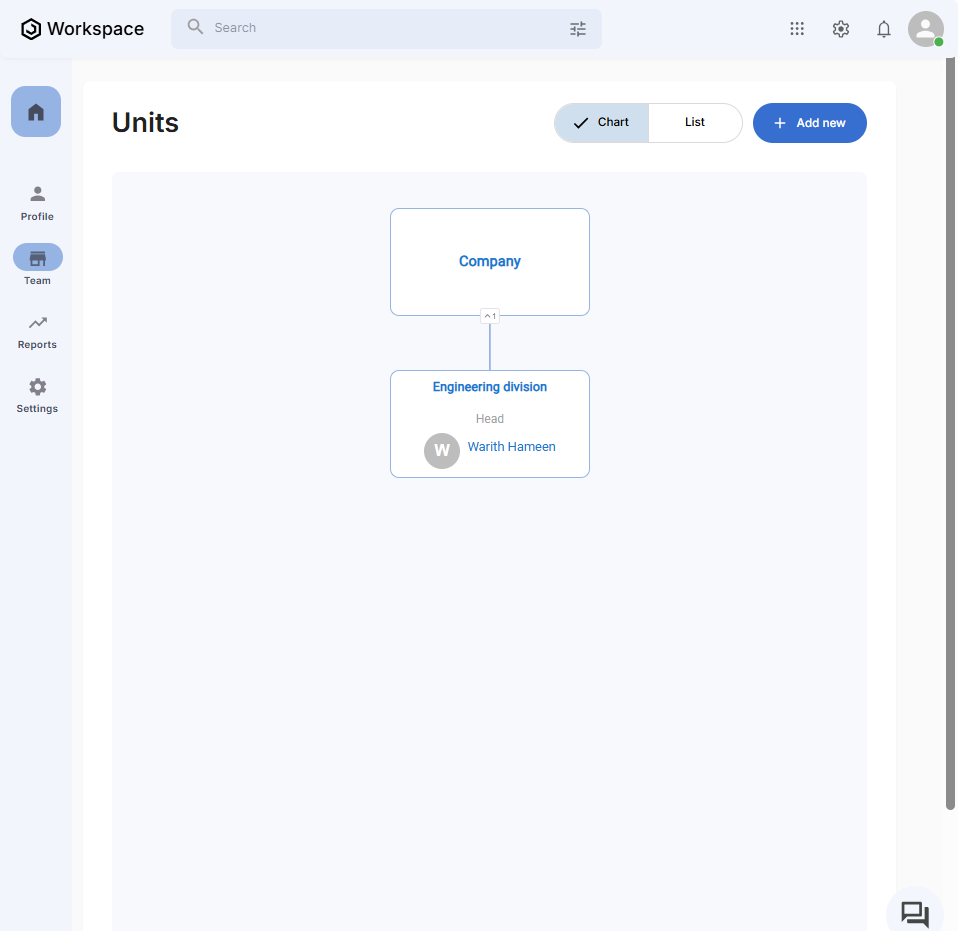
- The newly created unit will:
- Appear in the organizational chart under its parent unit
- Display the unit head’s name in the chart
- Show up in the list tab
Step 4: Edit a Unit
- Go to the List Tab on the Units page
- Locate the unit you want to edit
- Click the three-dot menu (⋮) next to the unit
- Select "Edit"
- The Edit Unit Form will appear with the unit’s details pre-filled
- Update the fields you want to change (e.g., name, unit head, head count)
- Click the blue "Save" button to confirm changes
Step 5: Delete a Unit
- On the List Tab, click the three-dot menu (⋮) next to the unit you want to delete
- Select "Delete"
- A confirmation dialog will appear
- Click "Yes" to confirm deletion
- The unit will be removed from both the chart and the list
- ⚠️ Note: The default Company Unit cannot be deleted, only edited
Related Tasks
After managing units, you might also need to: