How to Edit Employee Personal Information
Overview
This guide shows HR managers how to update an employee's personal information in the Organogram HCM system. You'll learn to modify demographic details, identification information, and personal characteristics that are essential for HR records and compliance.
Prerequisites
- HR manager access to the Organogram workspace platform
- Permissions to edit employee information
- Employee must already exist in the system
- Updated personal information from the employee or official documents
When You Need This
- Life event updates (marriage, divorce, name changes)
- Demographic information corrections or updates
- Identity document updates (passport, national ID changes)
- Religious or language preference updates
- Birth date corrections or verifications
- Nationality or ethnicity updates for compliance reporting
Step-by-Step Instructions
Step 1: Access the Employee Directory
- Log into your Organogram workspace at
people.organogram.app - Click "Team" in the left sidebar
- Select "Employees" from the navigation menu
- You'll see the employee directory page
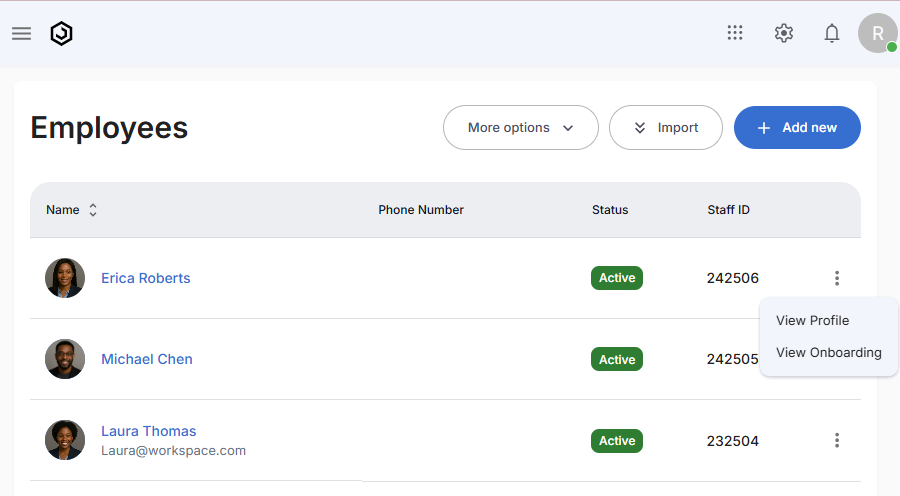
Step 2: Locate the Employee
- Browse the employee list to find the employee whose personal information you need to update
- Use the employee's name, photo, or Staff ID to identify them
- Note their current status and any visible personal details
Step 3: Open Employee Profile
- Click the three-dot menu (⋮) on the right side of the employee's row
- Select "View Profile" from the dropdown menu
- The employee's detailed profile page will open
Step 4: Navigate to Personal Information Section
- Locate the "Personal Information" section on the profile page
- This section displays current personal and demographic information
- Look for the edit icon (pencil) in the top-right corner of the section
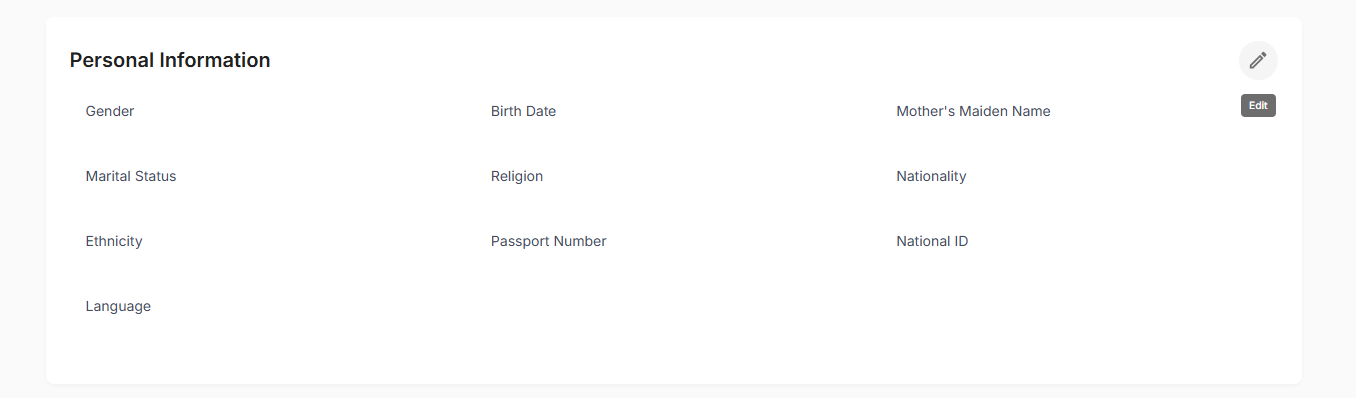
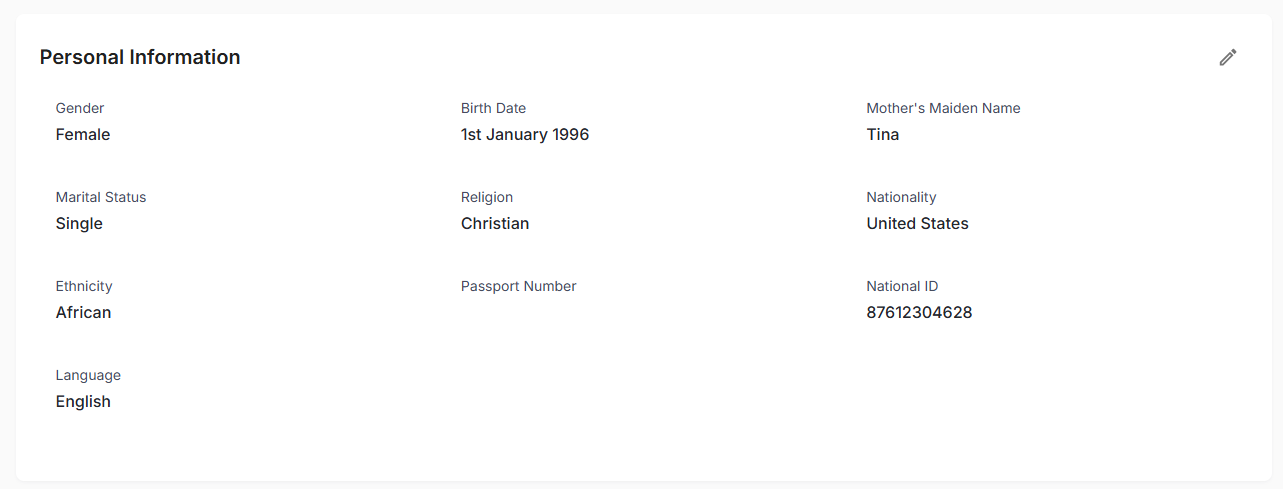
The section shows current information including:
- Gender: Current gender designation (e.g., "Female")
- Birth Date: Date of birth (e.g., "1st January 1996")
- Mother's Maiden Name: Security information (e.g., "Tina")
- Marital Status: Current marital status (e.g., "Single")
- Religion: Religious affiliation (e.g., "Christian")
- Nationality: Country of citizenship (e.g., "United States")
Step 5: Access the Personal Information Edit Form
- Click the edit icon (pencil) in the Personal Information section
- The personal information edit form will appear
- You'll see comprehensive personal and demographic information fields
Step 6: Edit Core Personal Details
Focus on the essential personal information:
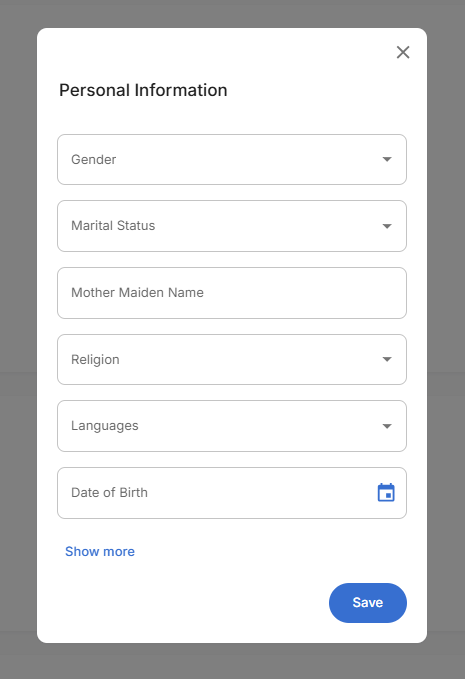
Required Personal Fields:
- Gender: Select gender designation (e.g., "Female")
- Marital Status: Update current status (e.g., "Single")
- Mother Maiden Name: Security information (e.g., "Tina")
- Religion: Religious affiliation (e.g., "Christian")
- Date of Birth: Birth date with calendar picker (e.g., "01/01/1996")
Use "Show more" to expand additional fields or "Show less" to focus on essentials.
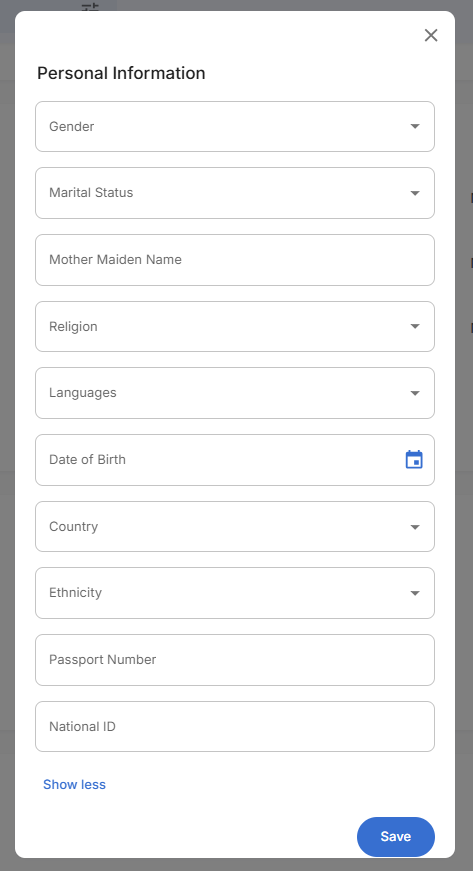
Step 7: Update Identification Information
Handle identification documents and numbers carefully:
Identification Fields:
- Country: Country of residence or citizenship (e.g., "United States")
- Ethnicity: Ethnic background selection (e.g., "African")
- Passport Number: Current passport number for travel documents
- National ID: Government-issued identification number (e.g., "87612304628")
- Languages: Spoken languages with multi-select capability (e.g., "English")
Step 8: Demographic Information Updates
Update demographic details as needed:
Core Demographics:
- Gender: Select appropriate gender designation
- Ethnicity: Update ethnic background for reporting
- Languages: Add or modify spoken languages
- Religion: Update religious preferences if relevant
Legal Information:
- Date of Birth: Use calendar picker for accurate date entry
- Nationality: Verify citizenship information
- Country: Country of residence or legal status
Step 9: Verify Information Accuracy
- Double-check all dates for correct formatting and accuracy
- Verify identification numbers match official documents
- Confirm demographic selections are appropriate and current
- Review security information like mother's maiden name
- Validate language selections reflect current preferences
Step 10: Save Personal Information Changes
- Review all entered information thoroughly
- Click the blue "Save" button at the bottom of the form
- The system will validate date formats and required fields
- The form will close and return to the employee profile

Step 11: Confirm Personal Information Updates
- Verify the updated information displays correctly in the Personal Information section
- Check that changes are reflected accurately:
- Personal details show updated information
- Identification numbers display correctly
- Demographic information reflects changes made
Related Tasks
After updating employee personal information, you might also need to: