How to Manage Organization Grade Levels
Overview
This guide shows HR managers how to create, edit, and delete grade level records in the Organogram HCM system. You'll learn how to add new grade levels, update existing ones, and remove outdated entries to maintain accurate organizational structure.
Prerequisites
- HR manager access to the Organogram workspace platform
- Permissions to manage grade level information
- Accurate grade level details for entry or update
When You Need This
- Adding a new grade level to the organization structure
- Updating an existing grade level’s name or rank
- Removing grade levels that are no longer in use
Step-by-Step Instructions
Step 1: Access the Grade Levels Section
- Log into your Organogram workspace at
people.organogram.app - On the left sidebar, click "Settings"
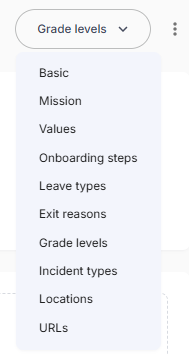
- Scroll down to locate the "Grade Levels" card or use the dropdown selector to navigate directly to it
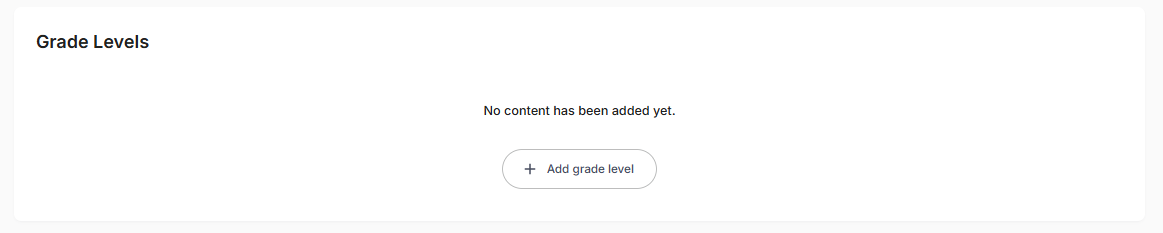
Step 2: Create a New Grade Level
- Click the "+ Add Grade Level" button at the center of the grade levels card.
- The Create Grade Level dialog will appear.
- Fill in the following fields:
- Name – The title of the grade level (e.g., "Senior Manager")
- Rank – The numerical rank representing the grade level’s position in the hierarchy
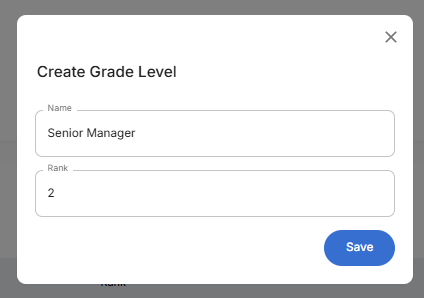
- After completing the form, click the "Save" button.
- A toast notification will appear: "Grade level created successfully".
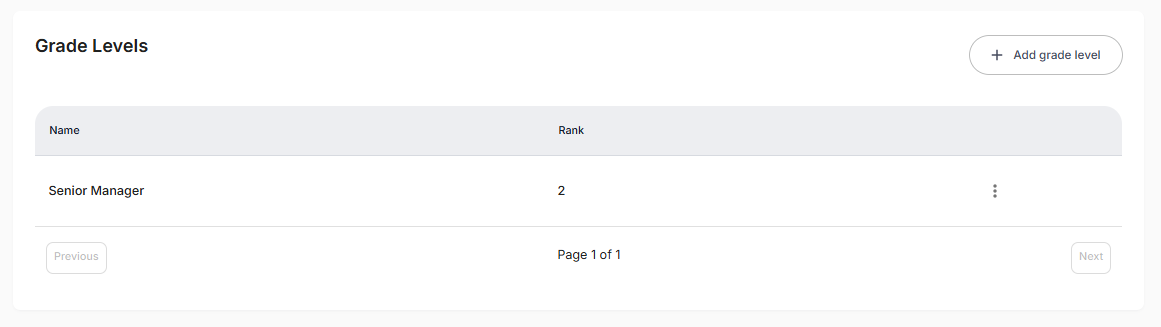
- The newly added grade level will now appear in the Grade Levels table.
Step 3: Edit an Existing Grade Level
- Locate the grade level you want to update in the table.
- Click the three-dot menu (⋮) next to the entry.
- Select "Edit" from the dropdown menu.
- The Edit Grade Level dialog will appear with the existing details pre-filled.
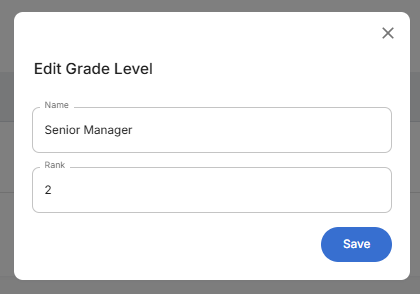
- Update the necessary information.
- Click "Save" to apply the changes.
- A notification will confirm: "Grade level updated successfully".
Step 4: Delete a Grade Level
- Locate the grade level you wish to remove in the table.
- Click the three-dot menu (⋮) next to the entry.
- Select "Delete" from the dropdown menu.
- Confirm the deletion in the confirmation dialog by clicking on Yes.
- The grade level will be removed from the list.
What You'll See After Adding
- The entered grade level details (Name and Rank) will appear in their respective columns in the Grade Levels table.
- The Add Grade Level button will still be visible for creating additional grade levels.
Related Tasks
After managing organization grade levels, you might also need to: